
Woodworking Workbench - Readying the wedges
It took me a while to understand the role of these wedges; but after some reflection the brilliance of the design starts to show. It would be just as easy to house the leg frames within the dados in the apron and bolt them in, however this wouldn’t account for movement during the seasons as well as day to day use. The (floating) wedges assist by letting the larger pieces expand and contract by absorbing these changes. The shape also forces the wedge down and tightens the entire structure as it moves and shakes.
I wasn’t sure how to tackle this task since I don’t posses the skills to saw perfectly to a line. I started out by marking the wedges with a ratio of 1 : 1.5, and creating a knife line. With a Japanese pull saw, I created the kerf, then established the angle and to my surprise the first wedge was very good. Using the same process I began cutting the second one, but it started wandering hopelessly off course, so I had to change tactics.
Table saw to the rescue - With one wedge already cut, the angle on the board was set, so all I had to do was set the width and run it through. This pass would make the board square once again, so I used some painters tape and super glue to hold the wedge to the square board to create the the angle and ran it through one more time.
With a few strokes of a plane across these cuts and I was all done. There is a small variation between each of the wedges, but that’s alright - I will be tracing and cutting their housing dados for a tailored fit.

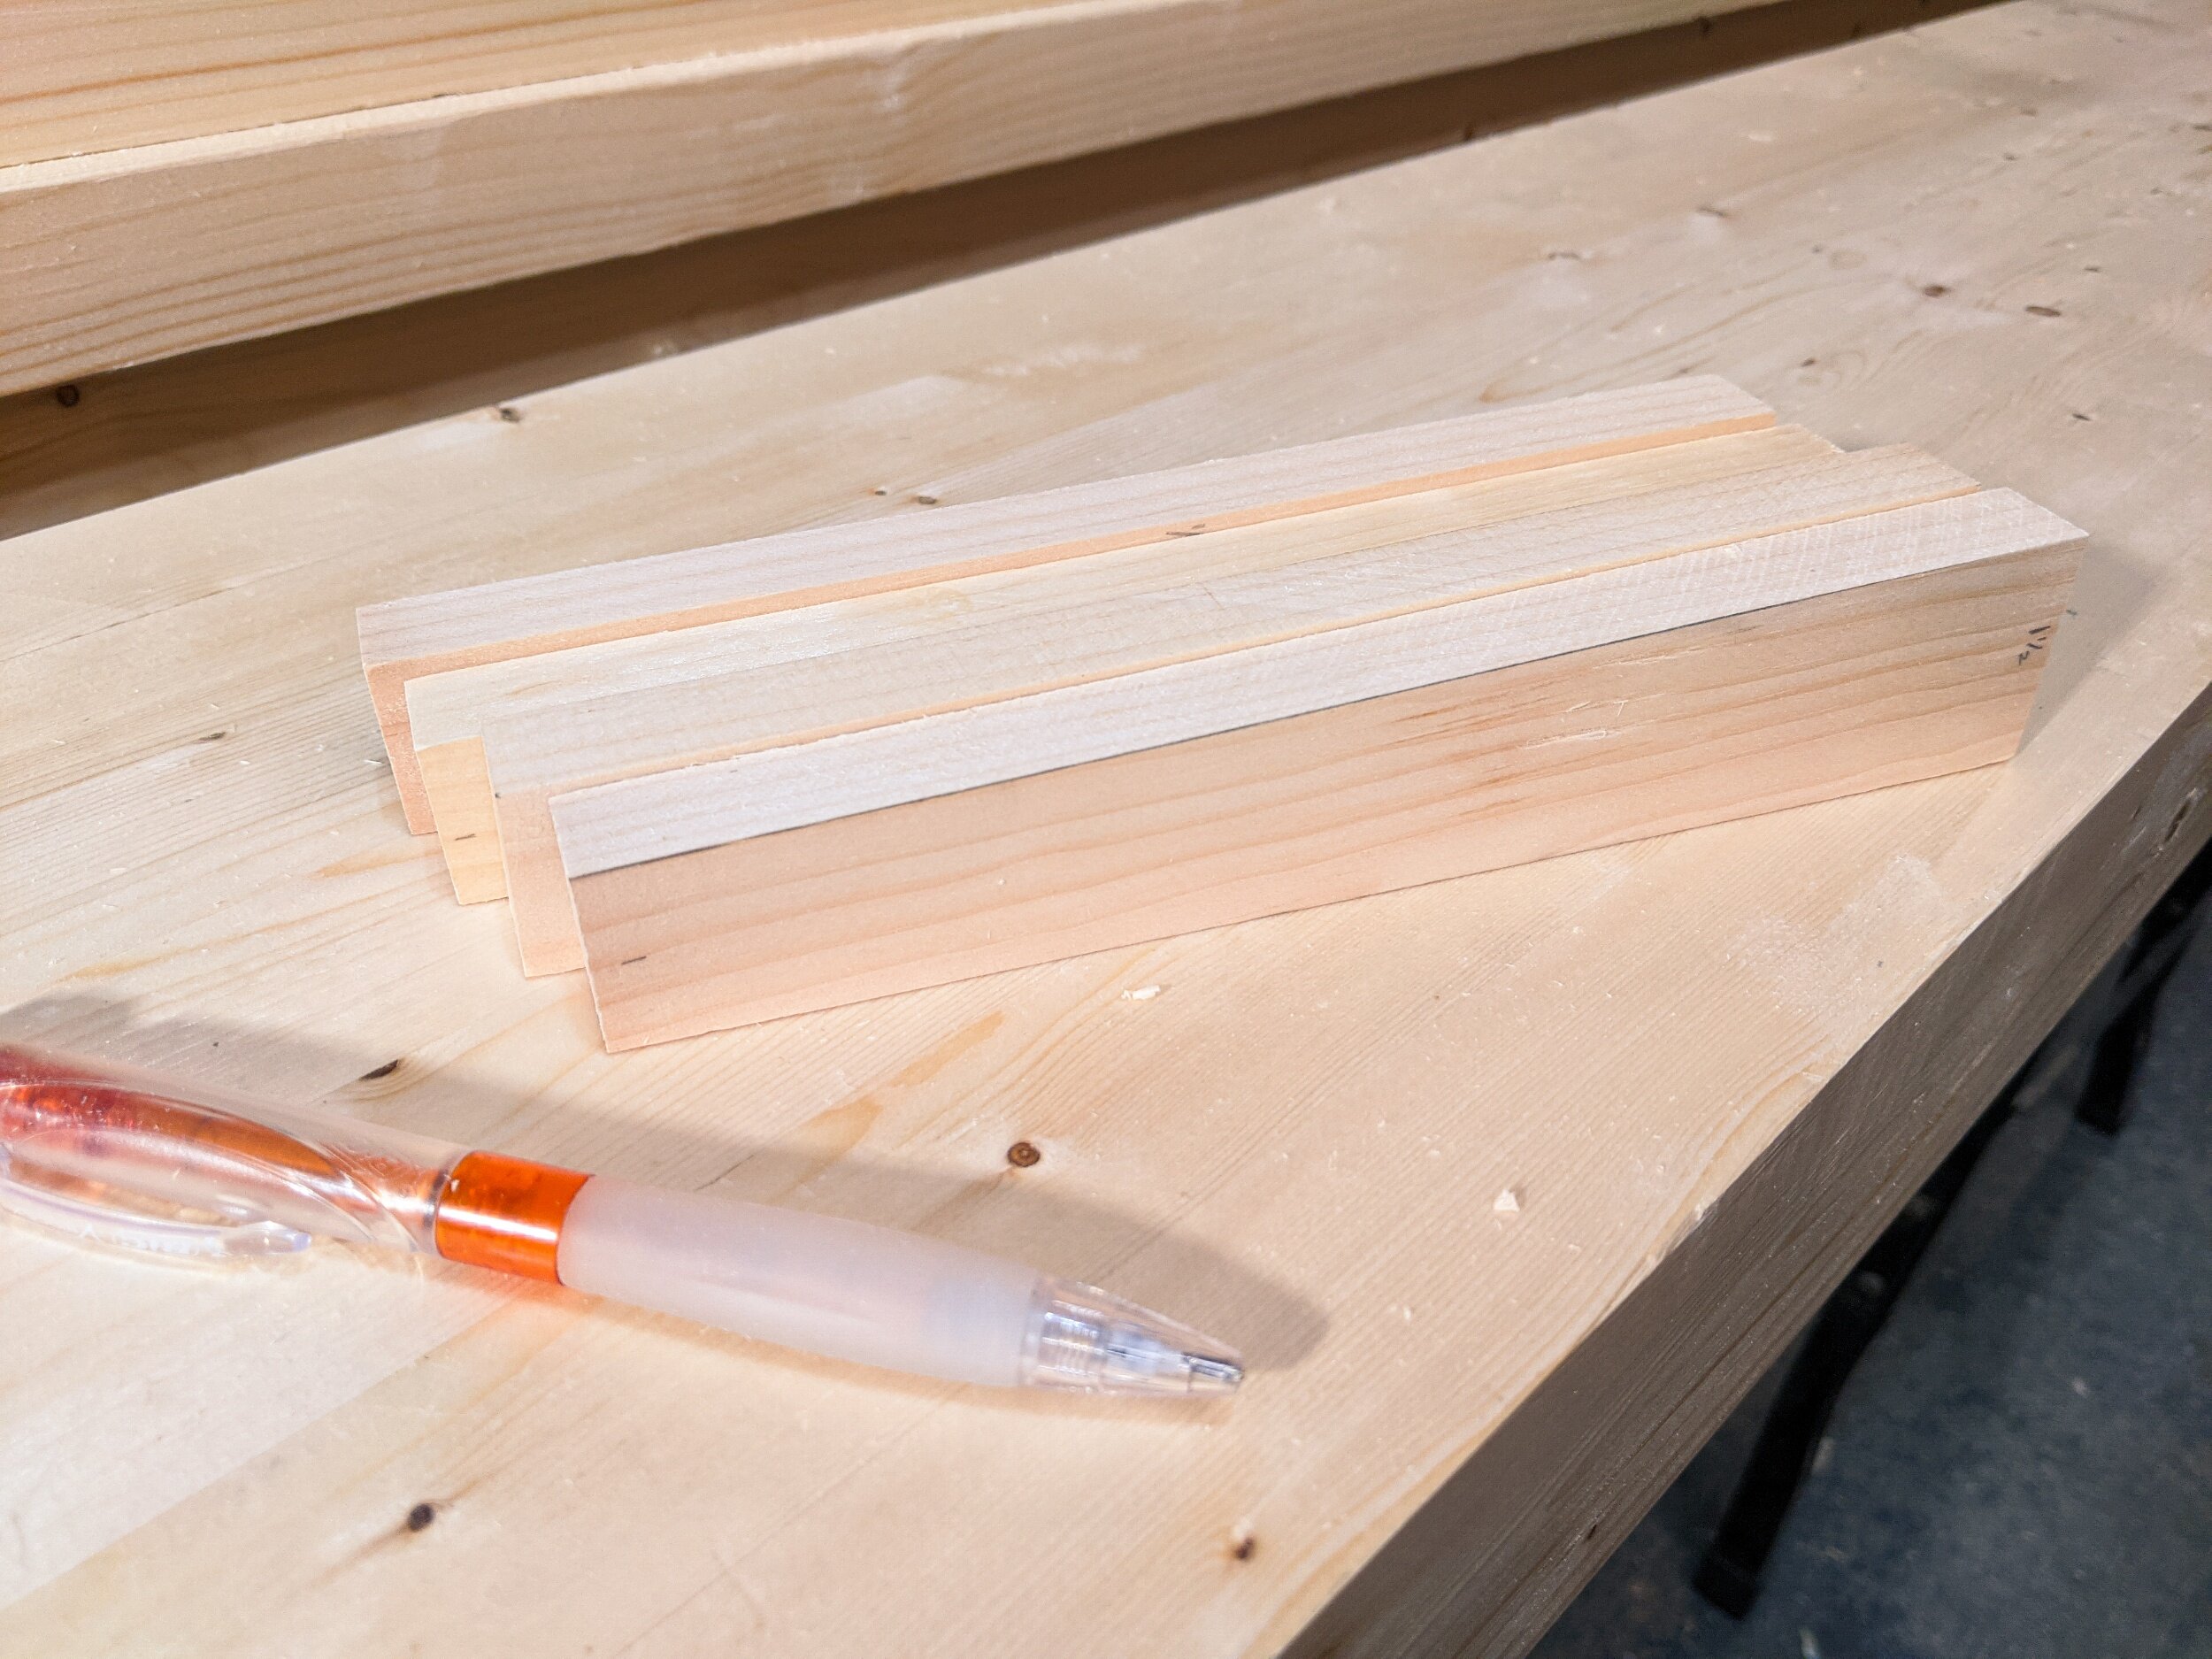
All the wedges marked out with a ratio of 1 : 1.5 - Meaning the smaller end was 1” and the larger end was 1.5”.

Accurately sawed to the line, to create the first wedge.

The table saw made quick work of the wedges by using the established angle.

After cutting the second piece, I ended up with a square board.

To reestablish the angle, I used painters tape and super glue to hold the cut-off wedge to the square piece .
Since each wedge will be paired with it’s custom fit housing dado, the slight variations between each one wasn’t a concern.