
Woodworking Workbench - Leg Frame Housing Dados
The grind of punching out 8 mortises for the leg frames was still fresh in my mind when I was faced with this next task of carving out the dados in the aprons. However knowing that this would was one of the final tasks before the whole thing came together was reassuring.
This process turned out to be fairly therapeutic and enjoyable. My partner happened to come into the workshop as I was using the router plane and exclaimed that it looked rather satisfying. She decided to give it a try and had some fun with it.
To start off the process, drew a line a specific distance from the edge of the apron where the leg would be seated. Then, lining up one of the leg frames along side the wedges, I marked the outline of the dado. I used a pencil at first, then followed up with a knife; progressively making the cuts deeper. With the that knife wall established, the only thing left to do before starting to chop was to mark the depth.
Paul describes his technique very elegantly, but it entails using the knife wall as the boundary, deepening it with each pass while removing the surrounding wood. As always a picture (or video) is worth a thousand words.
Once the knife wall is deep enough, I began removing the majority of the material by chopping in from the edge of the apron. With one of my dados, I got carried away and went too deep. Not a problem in this instance, but it was a good lesson for future projects.
The final step was to hone in on the depth and for that I used a router plane. It was the first time I had ever used one and I learned new skills with each dado I created. With a sharpened blade, the process is effortless, if you go down in small increments.
During this task, I had to stop and make a wider sole for my router plane since the width of the dado was larger than it’s foot-print. Check out my post about that process.

The outcome of the hard work is a satisfyingly snug fit of the legs into the aprons. Notice that I labeled each piece to avoid any mix-ups.

Placing and marking the wedge and leg frame. Unless all your dimensions are spot on, it’s important to mark and maintain the leg frame and wedge pairing.

I marked out the depth of the housing dado to match the height of the wedge I had made.

Working in small increments to deepen the knife wall.

For the first few layers, I did not use the mallet; it would be a different story if this was hard wood and not pine.

Once the knife wall was deep enough that I did not risk blowing out the piece, I began to remove the bulk of the material by coming at it from the edge of the board.

Once a large portion of the wood is removed, I honed in on the depth with my router plane.

With a sharp router plane, the process of flattening out and getting to the prescribed depth is quite enjoyable.
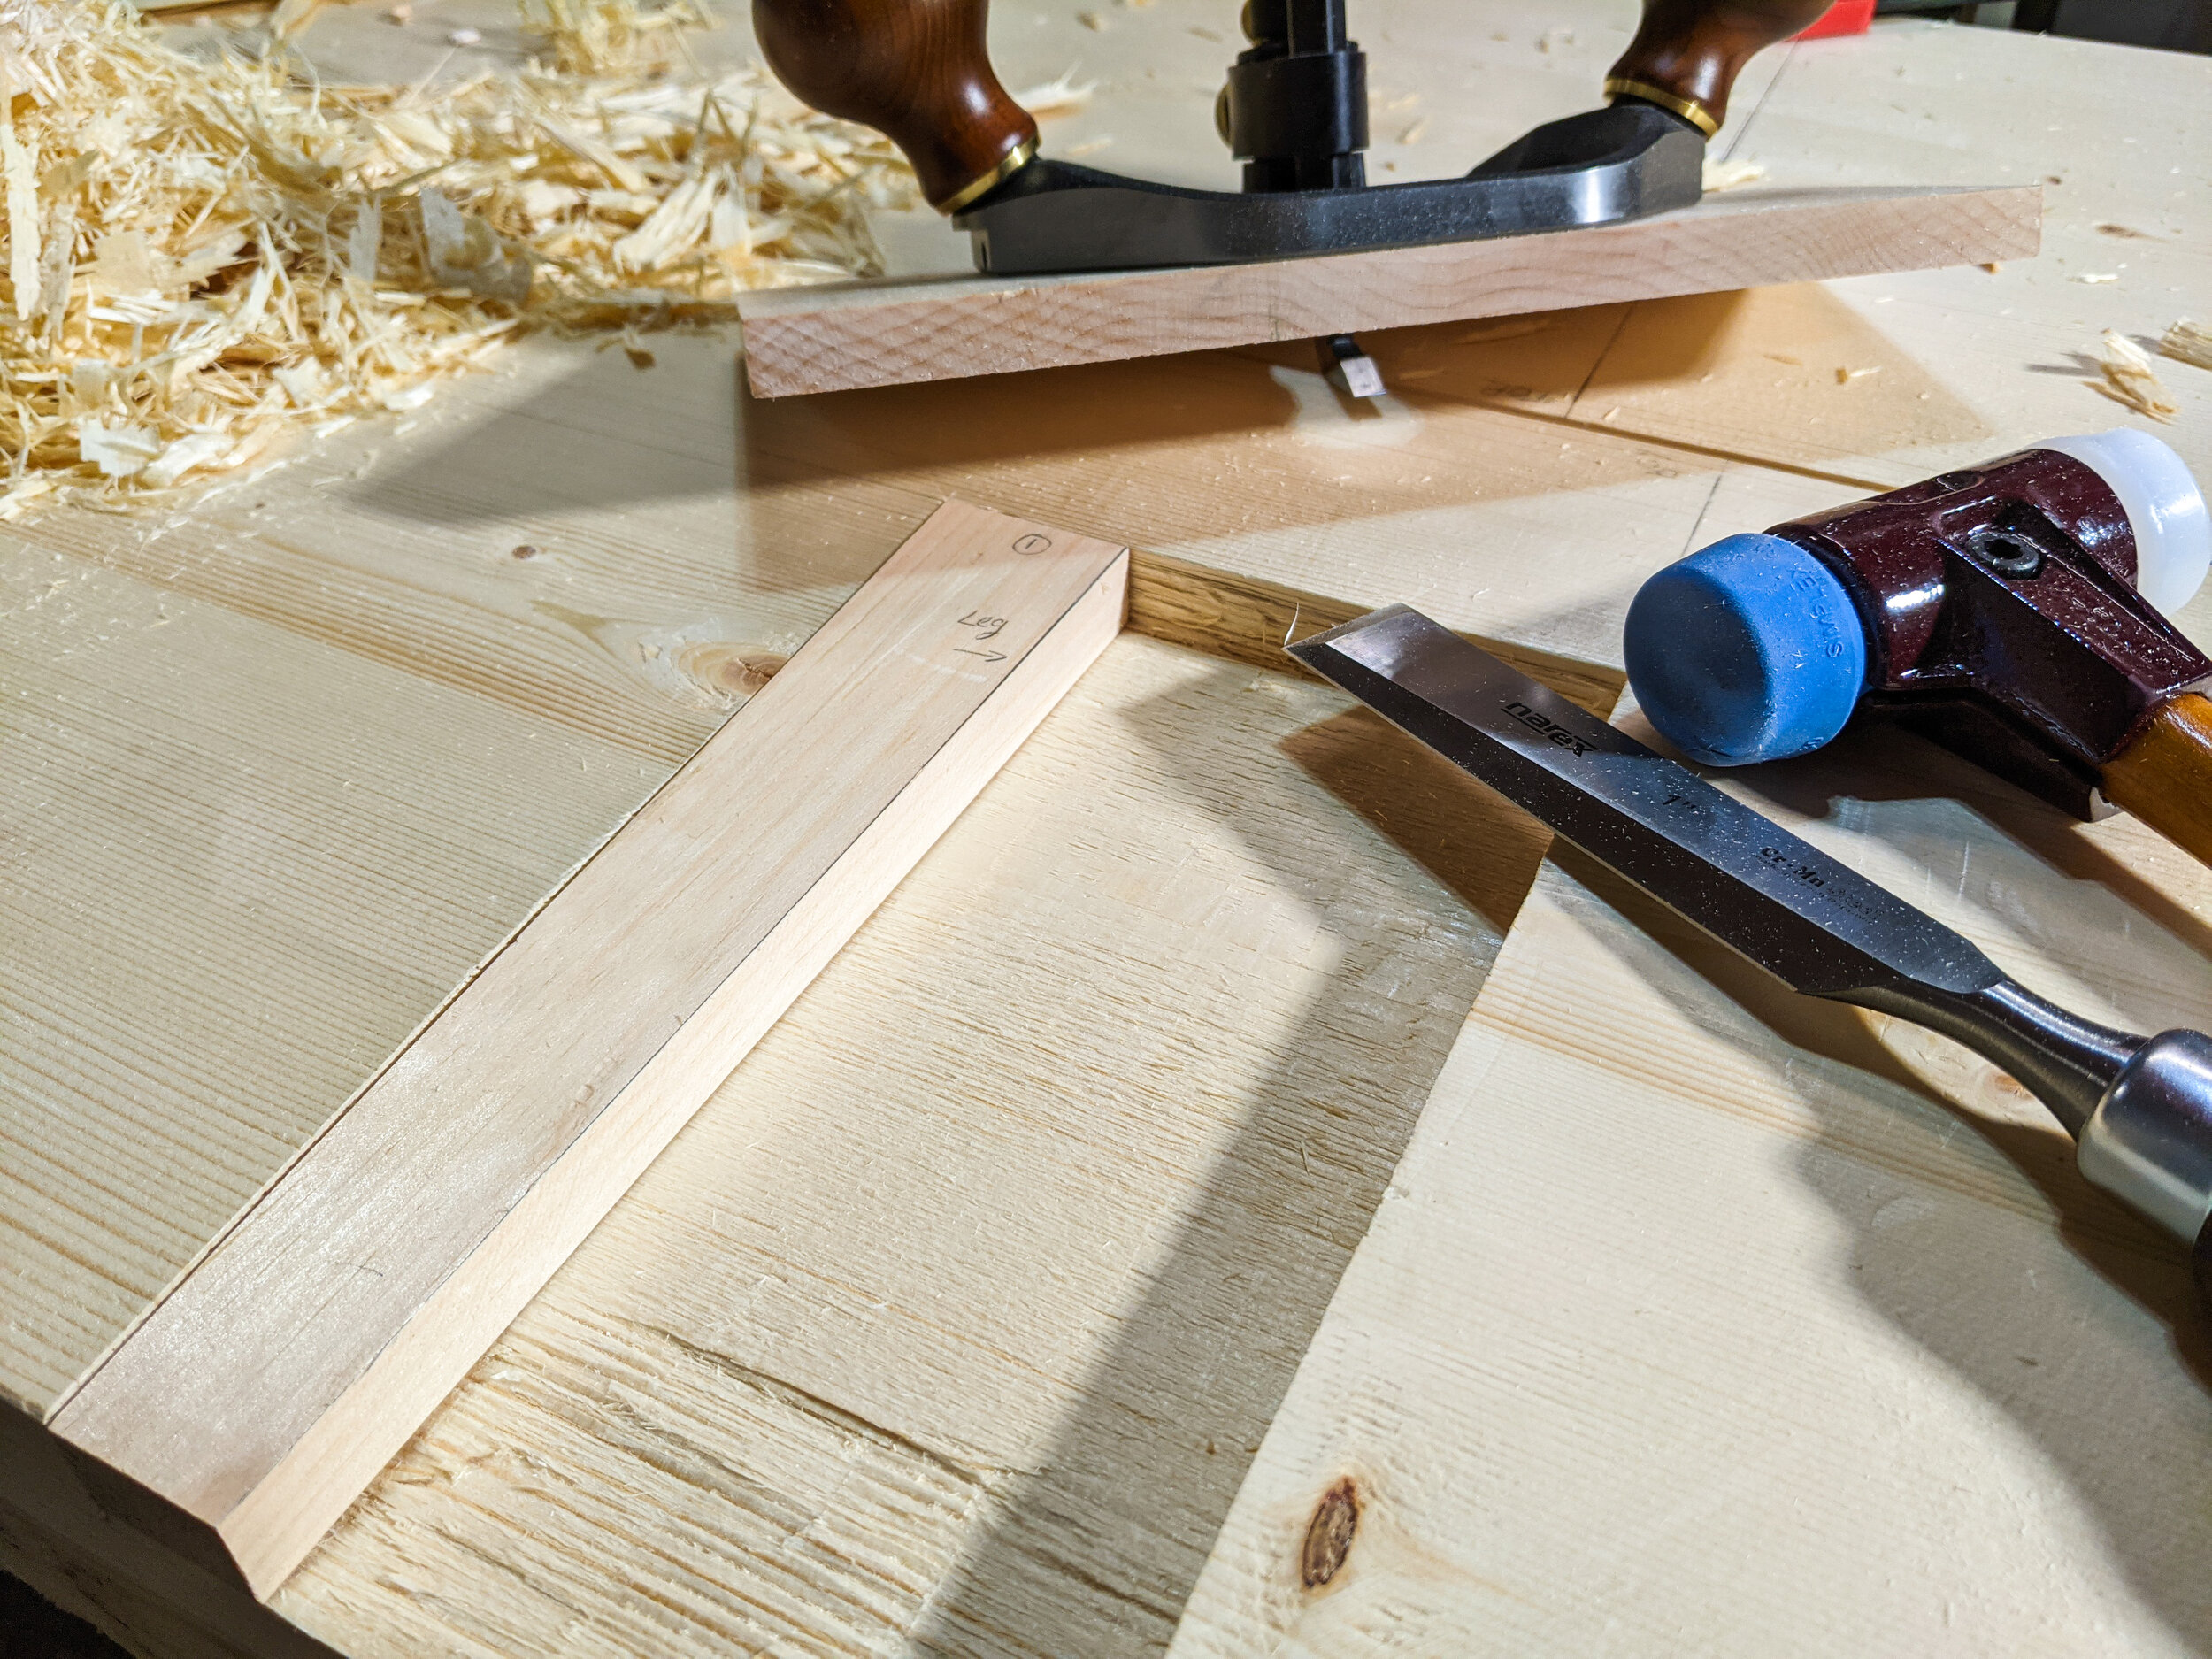
You can see the result of getting carried away and going a little too deep while chopping in from the edge of the board. No harm in this case since it will get covered up.