
Woodworking Workbench - Preparing the aprons
I had been looking forward to this step ever since I bought the massive 2x12. Not because it hit me in the jaw as I was trying to wrestle it down from a high shelf, but because it was already a beautiful piece of timber to start.
This was the second piece I pulled out to assess at the big box store. Looking down it’s length, I couldn’t believe how straight and square it was. To make sure my eyes weren’t deceiving me, I compared a few more pieces but I had already found the winner. I got the 12’ length cut in half so it would fit in the car.
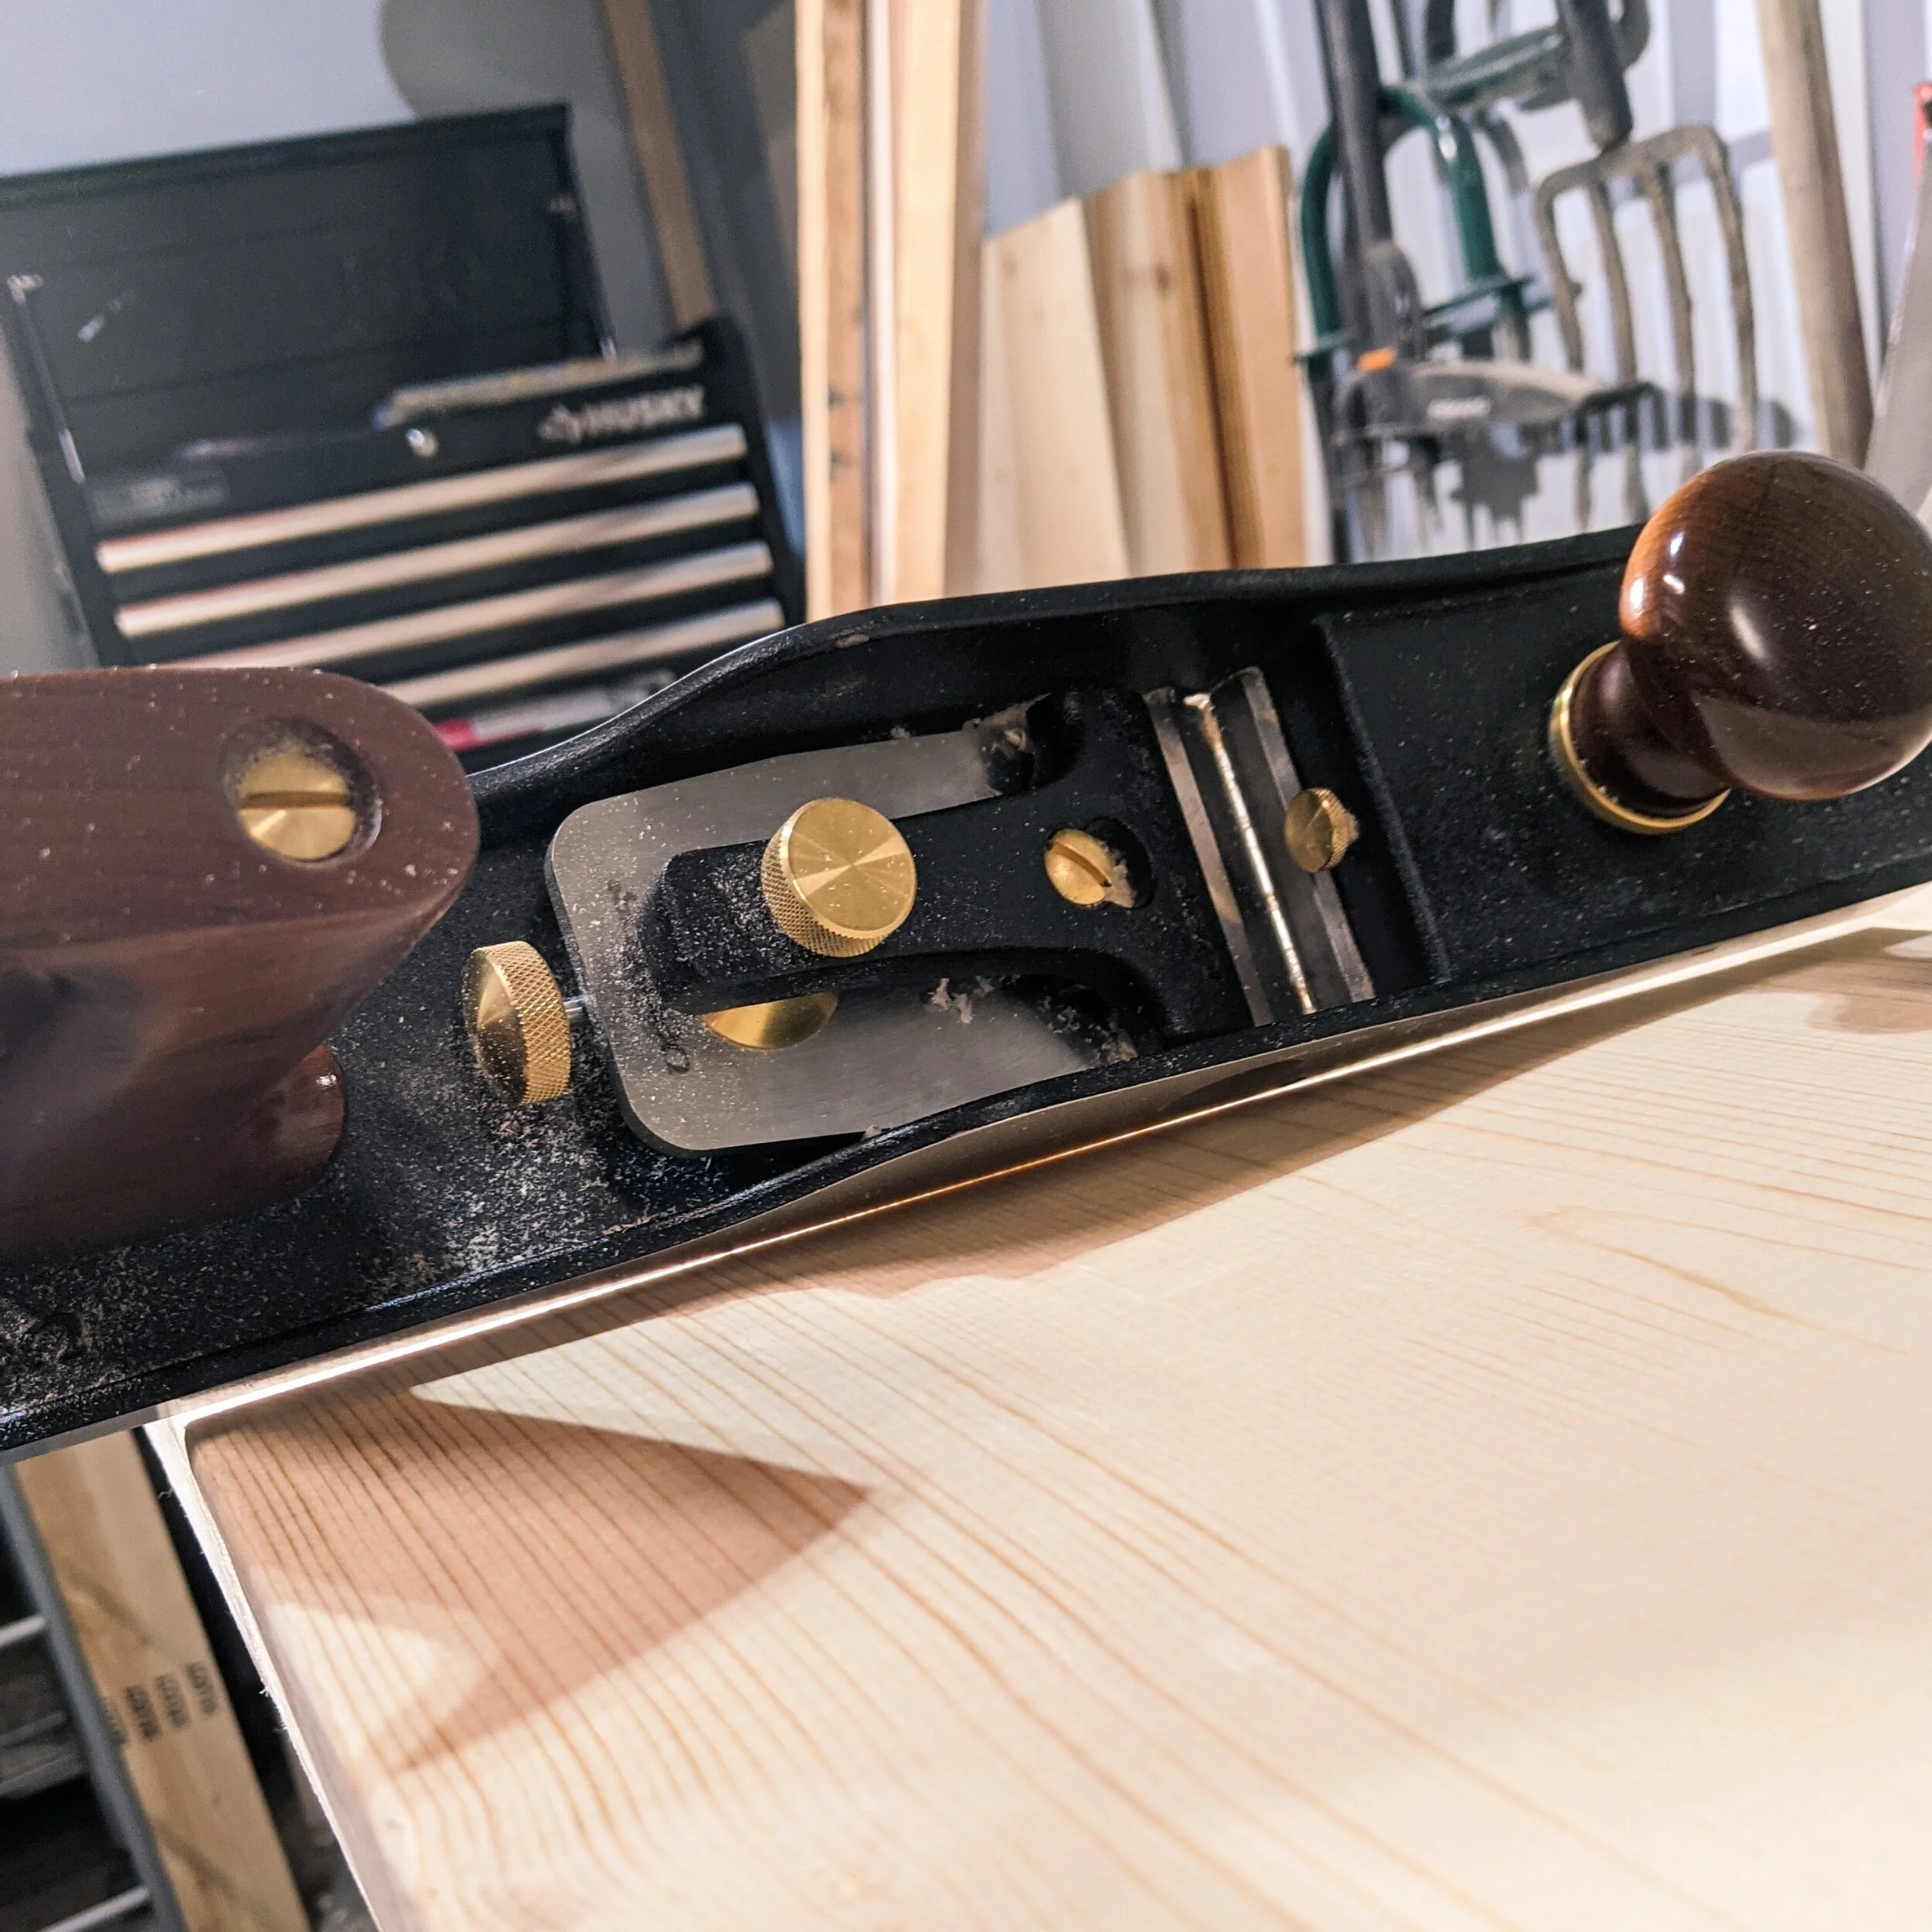
The piece was twist free, however it did have a slight bow/cup. Getting rid of this was something I was comfortable with and I went to work - right after putting a fresh edge on both plane irons.
The process wasn’t much different than preparing the benchtop:
Start working on the crown; much easier to work with the cup facing down than having the board rock, if it was the other way around
Take a few long passes with the jack plane to get a feel for the lumber and to take down the really high spots
Switch to the smaller smoothing plane and plane at 45deg in one direction and then in the other. This creates a checkered pattern and makes it easy to ensure you have even coverage
Spots that are too low won’t have this pattern and that’s a good sign to know you’ve still got more work to do
Check for progress using a straight edge or the side of the plane
Finally end with going end to end and when you get a full length shaving, it’s close to flat
I did validate that I didn’t have any twists using winding sticks before I labeled this task as completed.
Worked on this side first since the other side with the cup will stay relatively flat.

The cupped side of the board. I worked on this after flattening the other side that has the crown. Working on a piece that’s rocking is an exercise in frustration.
First pass going across the board at around 45deg.

Checker board pattern created by the second pass in the opposite 45deg (135deg?). I found it easy enough to pull the plane rather than moving to the other side.

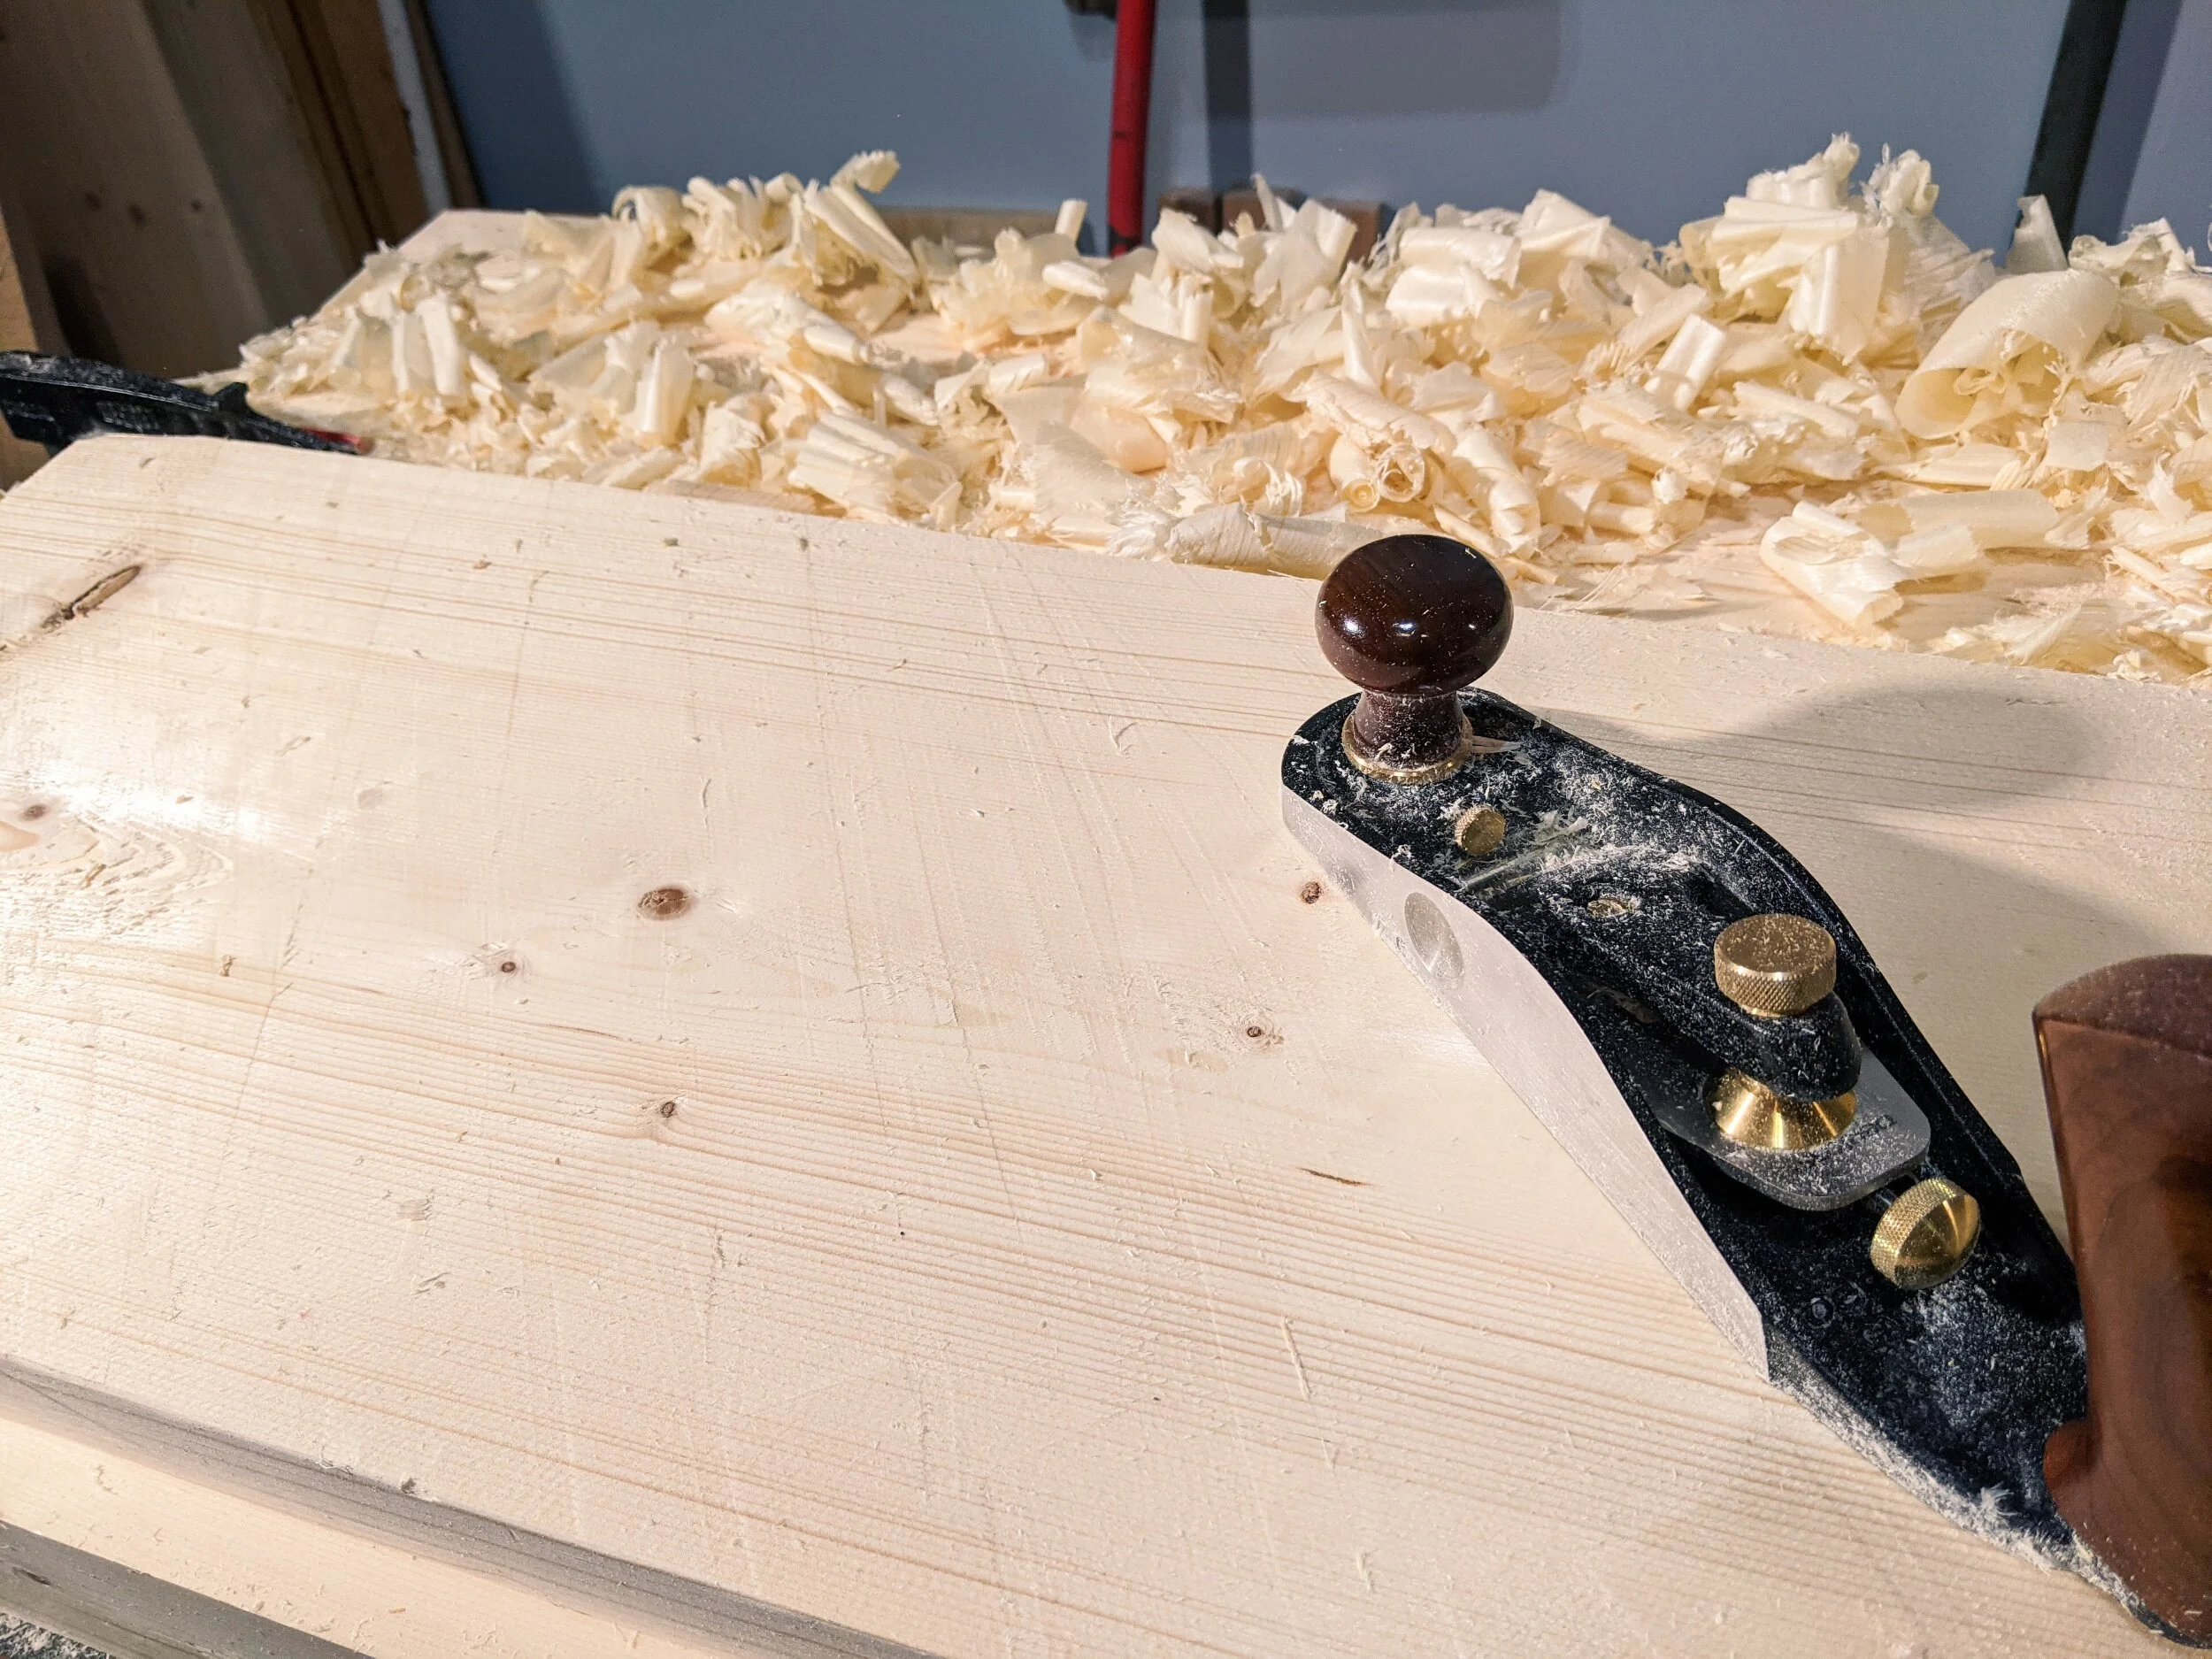
The sound and feeling of a sharp plane blade taking a wisp off the top for the final and very satisfying step.