
Woodworking Workbench - Leg Frame Bearer
The glue had dried, clamps came off and the leg frames were looking very handsome. It was time to put the bearer on and begin work on the housing dados in the aprons.
I cut some 2x4s down to length and got them ready by squaring off the sides and the faces. With the majority of the bench built at the time of this writing, I can’t stress the importance of making sure the bearer are square as can be. Having worked so hard to make sure everything is accurate, parallel and perpendicular, it would be frustrating to have the benchtop sit skewed or twisted.
From here, the process is trivial. Add glue to the top of the leg frames, line up the bearers and add a few screws. For some added peace of mind, I threw on two clamps and left them overnight.
The base of the workbench is now ready and it’s time to move on to milling up some large pieces of timber for the aprons.

A bead of glue to help lock everything in place.

Look at those glorious leg frames - Standing proud and tall!
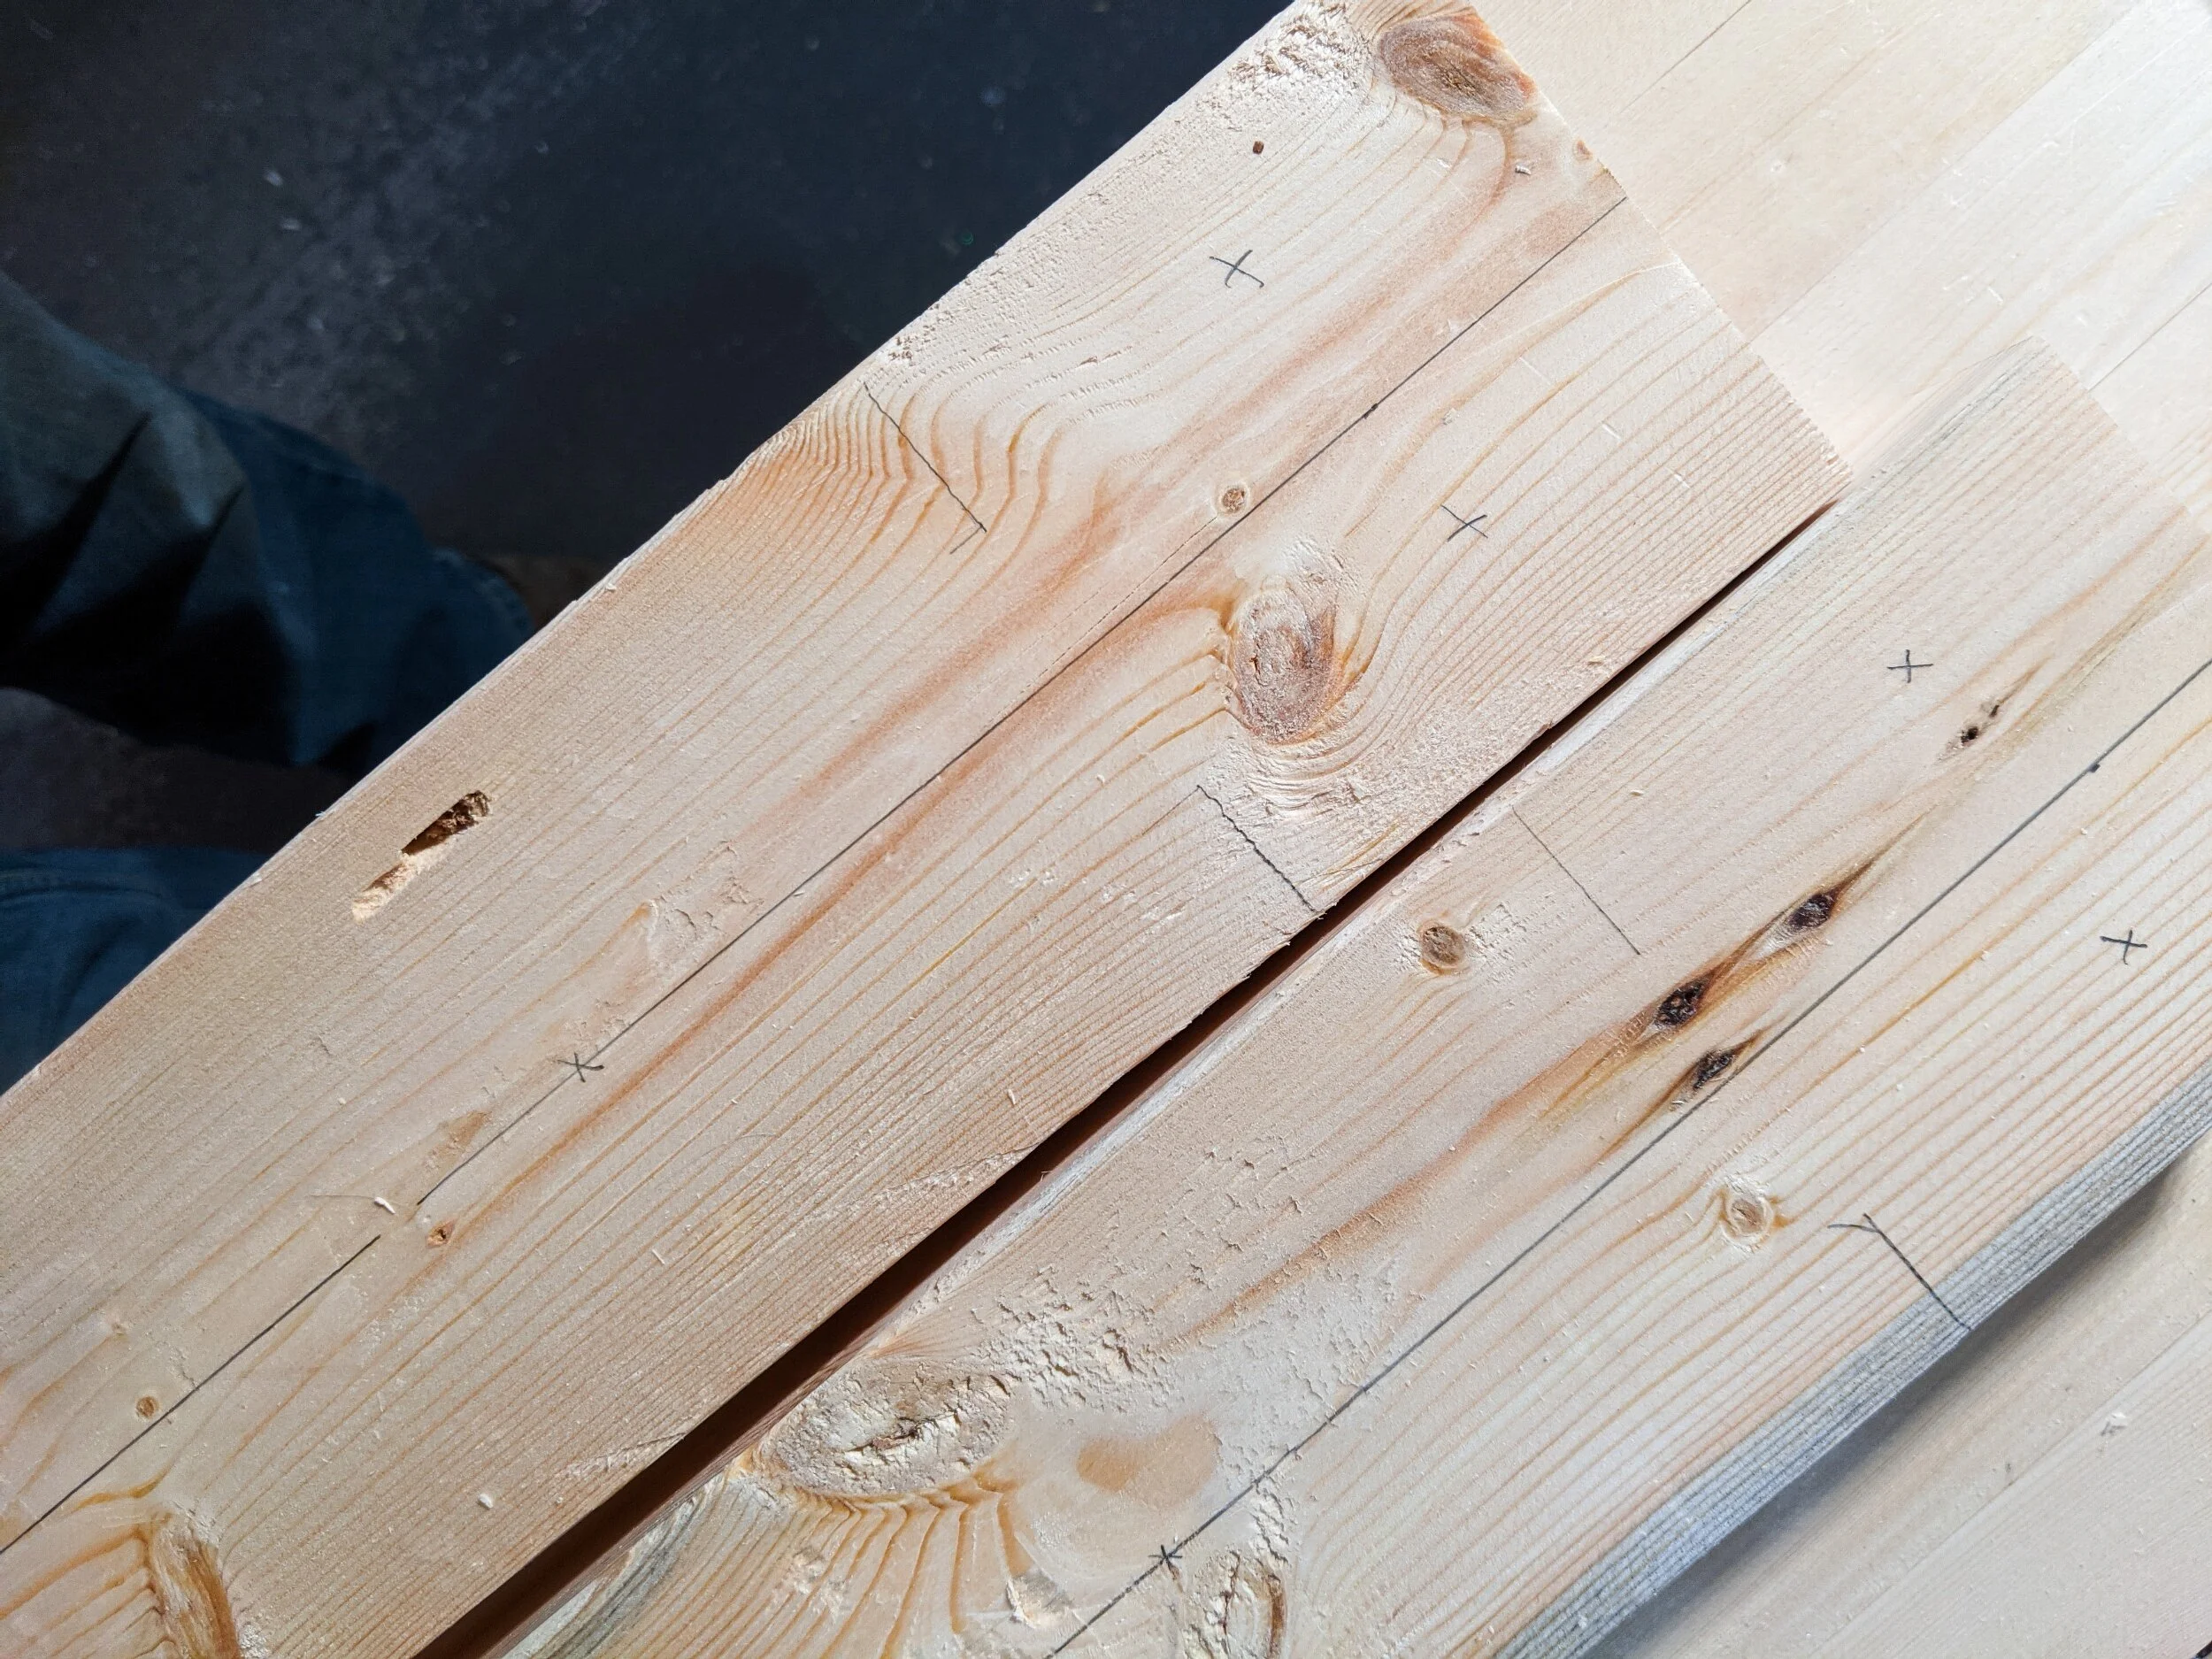
Roughly marked out the spots for some 2 1/2” screws. I didn’t pre-drill since it was pine.