
Woodworking Workbench - Putting all the pieces together
After spending days in the workshop measuring, marking, cutting, gluing and planning, it all comes down to this - fit the pieces together and fasten them with a little hardware.
Paul recommends just one bolt on each side to hold everything together, however I went a step further and drove in a lag bolt - just to be sure. After all, I had been over-thinking, over-measuring, over-calculating and over-engineering everything so far, so why stop now!
I measured and marked the location of the bolts before drilling through. I also decided to use a Forstner bit to counter-sink the heads in so they wouldn`t protrude. Another lesson learned - counter-sink first, then drill the through-hole. To put it another way, start with the largest diameter hole and work your way down.
Having made that mistake, some of my counter-sunk holes didn`t line up exactly with the bolt heads, so I chiseled out the edges for a better fit.
With the holes drilled, all that’s left to do is put it all together. I struggled with this; not because of the fit, but because I needed 6 arms to place and hold everything together. I did the best I could with clamps, but it was quite a challenge. In retrospect, I’m certain the whole assembly would have held itself together since the wedges were a nice tight fit, but I was not willing to take that chance.
Finally I drove in a lag bolt into each of the sides.
I’m happy when I am able to reuse things I’ve hung onto, so you’ll see that the bolts and screws aren’t new - and they don’t have to be.
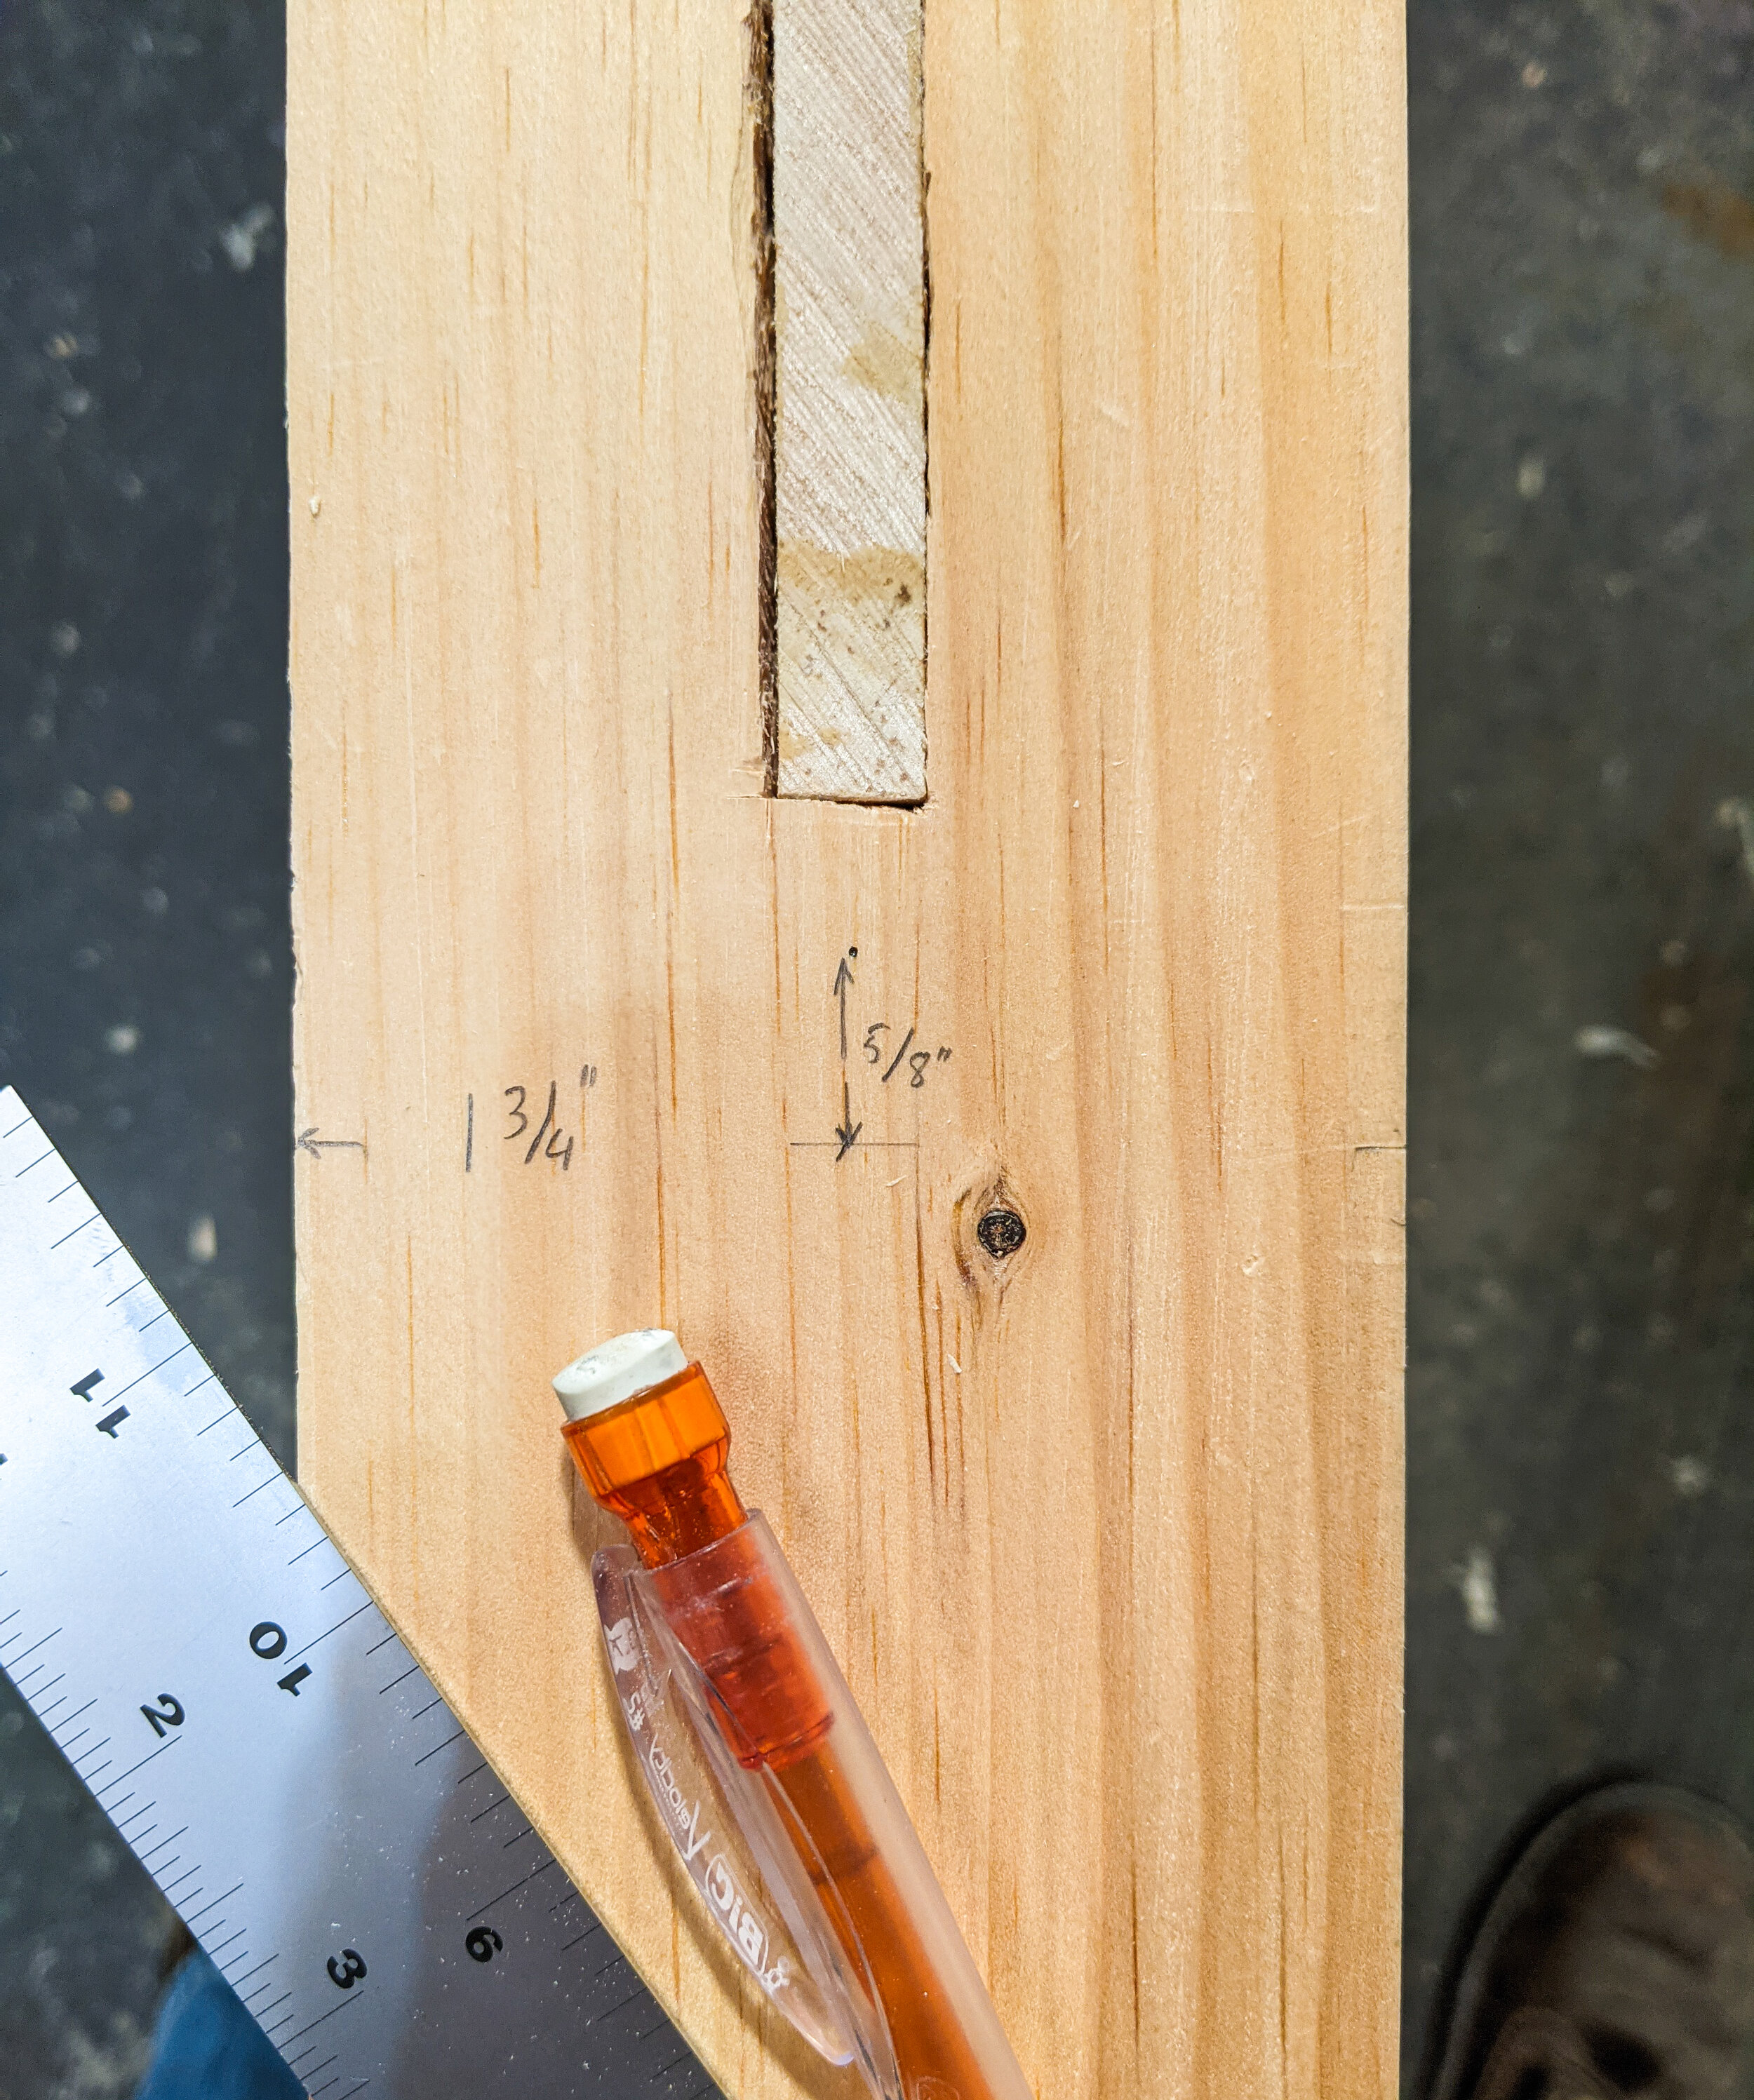
I marked the bolt hole locations making sure the bolt wasn’t going to be to close to the edge of the apron.

Using a combination square as a visual aid, I could drill fairly perpendicular. Not overly important for this operation, but helps build muscle memory.

Lesson learned - Drill the larger diameter hole first, then the through hole.

This is where an additional pair of hands would made the process a little easier.

It all comes together beautifully when the wedges pop into place and everything is square

Drive the bolt through and tighten it all up.

For additional safety and security I drove in some lag bolts.

This time I remembered to drill the counter sink hole first, then the pilot hole for the lag bolt.