Woodworking Workbench - Massive Tenons
With 8 large mortises completed, it was time to tackle the other half of the joinery. Compared to the mortise chopping this was a task I was looking forward to because it would finally allow me to assemble the beginnings of my workbench.
I checked for fit often, but a mistake was made. It happens and I’m OK with it.
I had made a mistake while purchasing material for the rails - I had 2x6’s, which are 5 1/2” and by the time I had trimmed the rounded corner and squared the edges they were under 5”. Wouldn’t have been a problem if I had discovered this before cutting 5” mortises. The silver lining was that once again, I decided to get some furniture grade lumber rather than construction lumber. They were milled square and true - ready for use right away. Took only a few minutes to rip down the 2x8s down to 5”.
Not aspiring to be a pure hand-tool wood worker, I setup my a box joint cutting blade on the table saw and began creating the tenon. This process was straight forward with the use of a mitre gauge.
For a brief moment, I contemplated building a tenoning jig, but in the interest of keeping the momentum of this build I used the tools and techniques I already had.
One key rule that I often hear was - fit your tenons to your mortises. I headed this advice, but wasn’t careful in my execution. After each pass with the dado stack to shrink the tenon, I’d check for fit. Soon I had less than 1/2” thickness when it started to slide in. What I had failed to recognise was that my mortises weren’t clean and square enough. There were a few high spots where it would bind and unfortunately my rookie reaction was to shrink the tenon further.
This will be a mistake that I have to look at often as it’s one of the only exposed joints, but it’s a good lesson learned. This is why we build shop projects. I’m certain no one else will notice an imperfectly fitting joint.
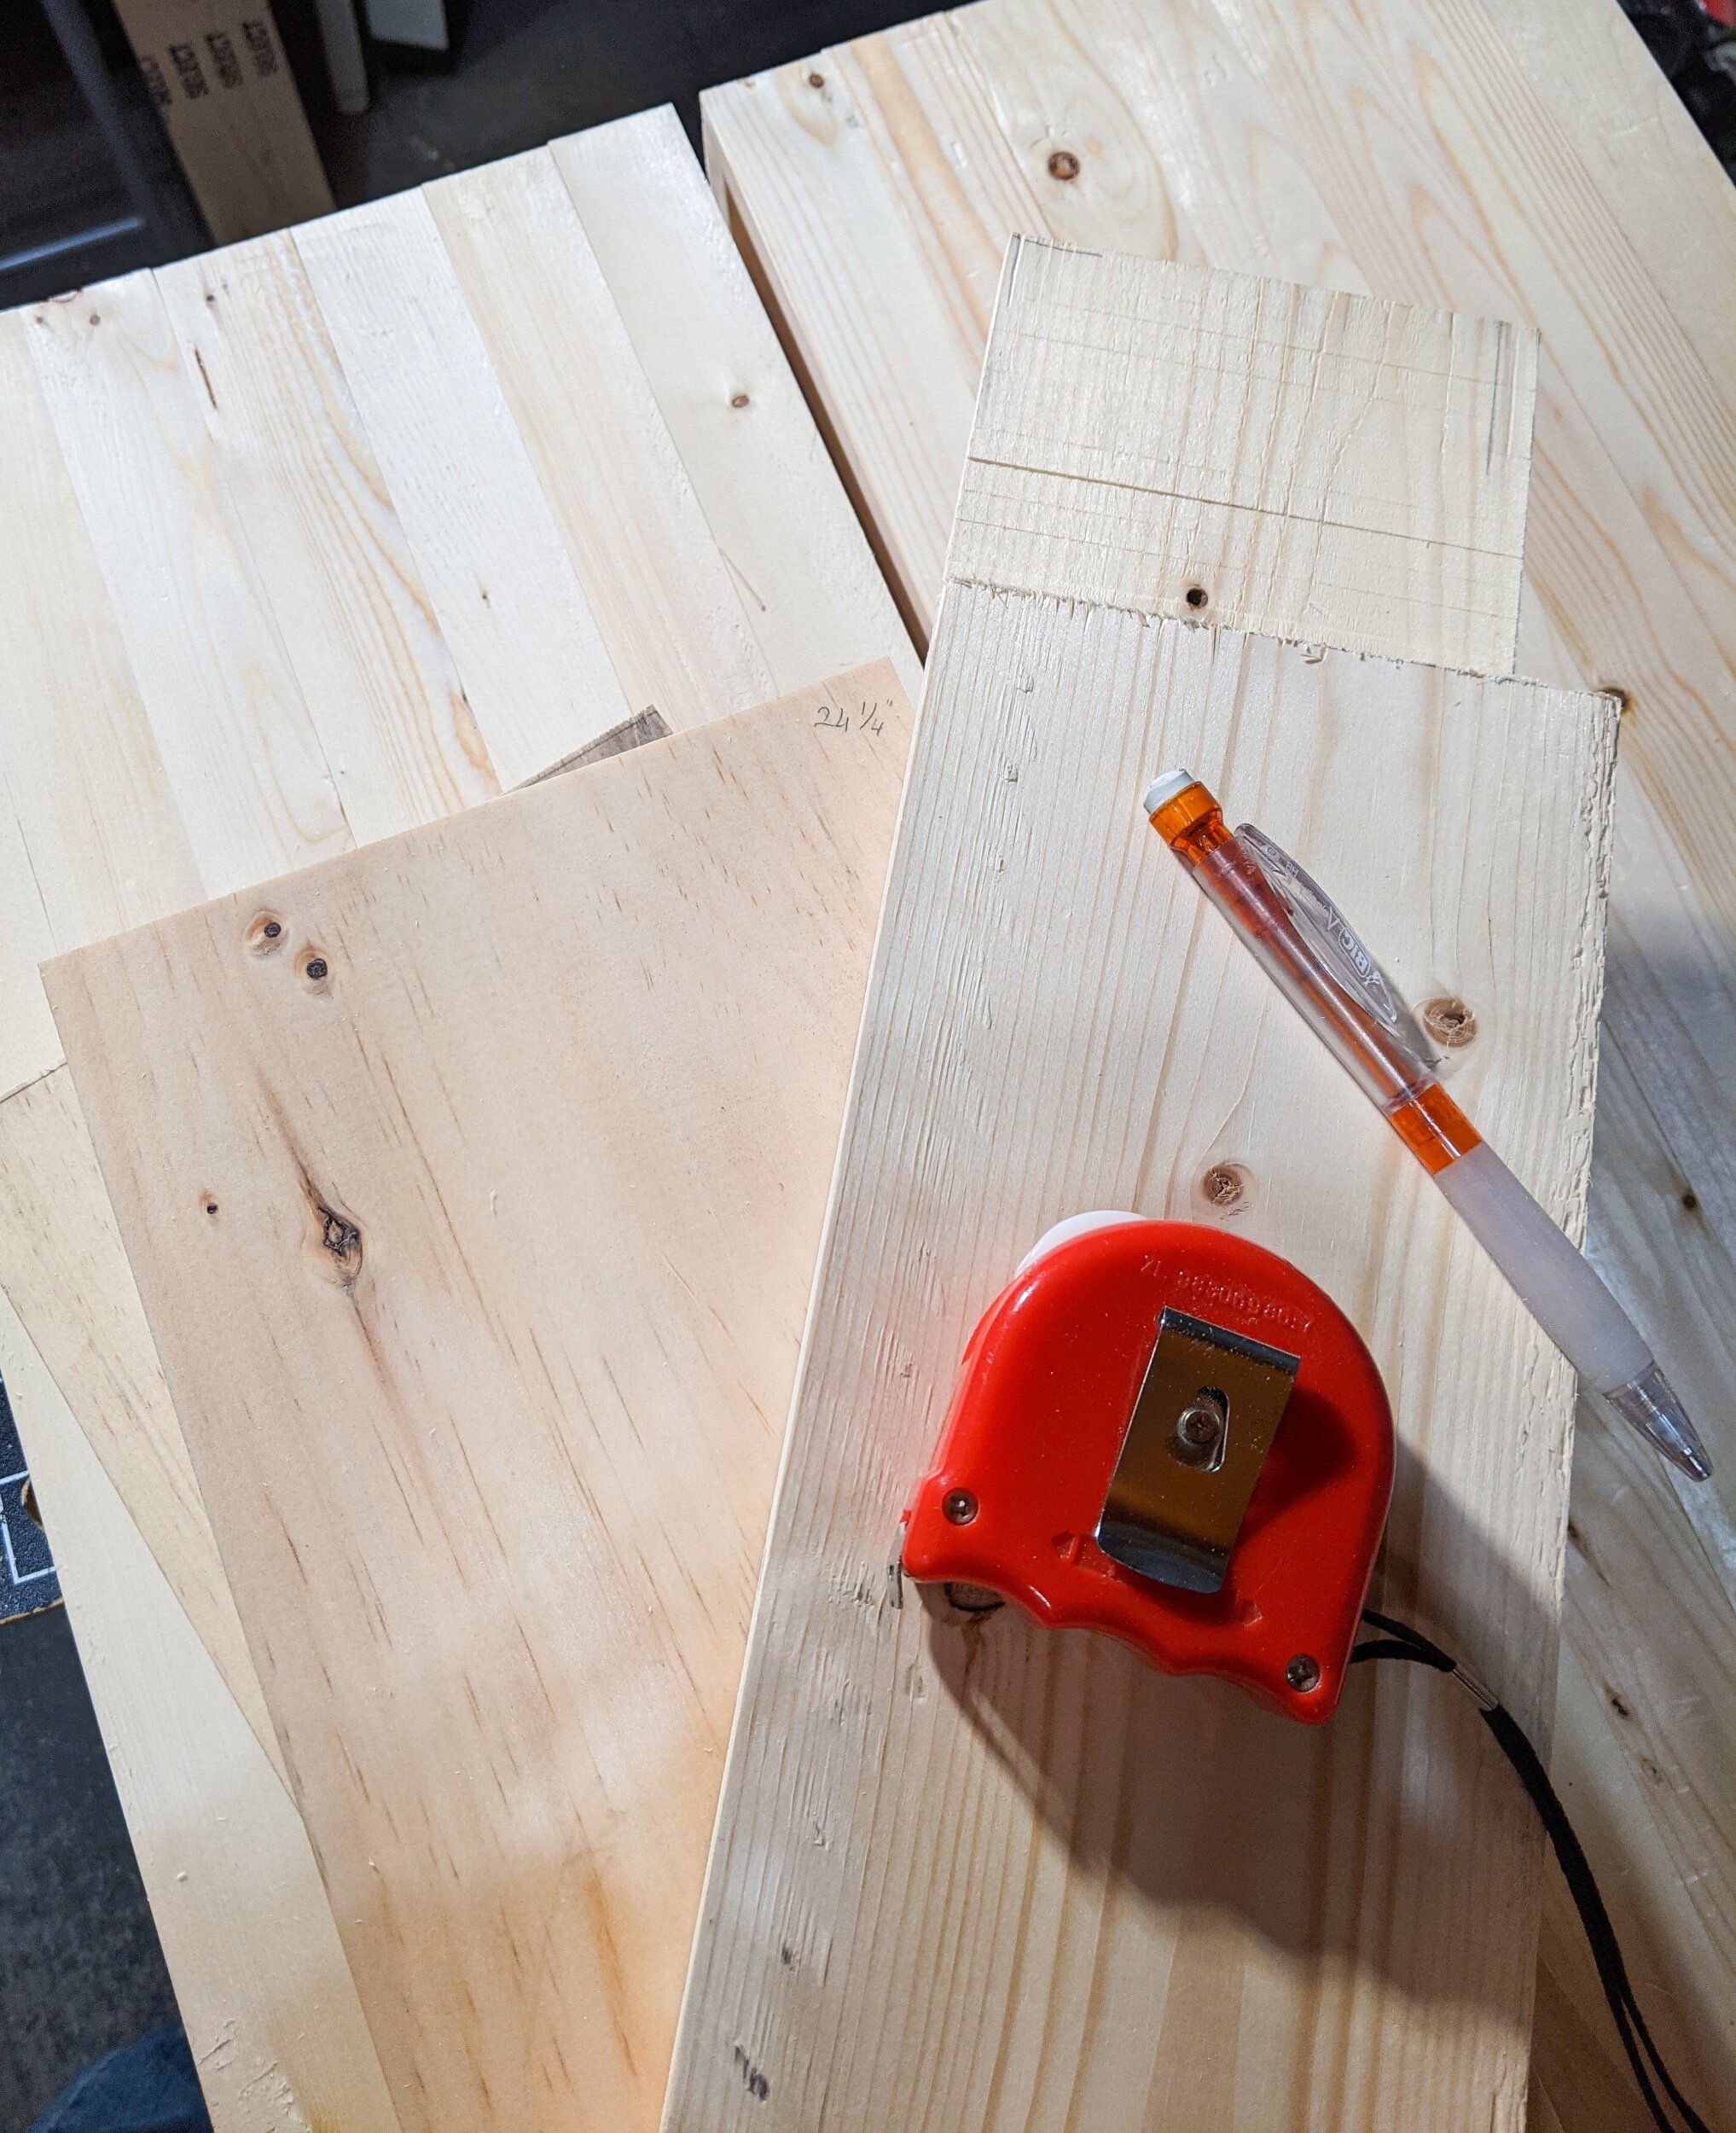
Size difference in the 2x6 that I had prepped vs the 2x8 that I finally used. My tenons would have been short by about 1/4” - 1/2”.
Measured and marked the size of the tenons getting them ready for the table saw.
Once I got to my desired tenon thickness (1/2”), I should have turned off the table saw and dust collector and looked more closely at where it was binding.


