
Making a Wooden Sole for a Router Plane
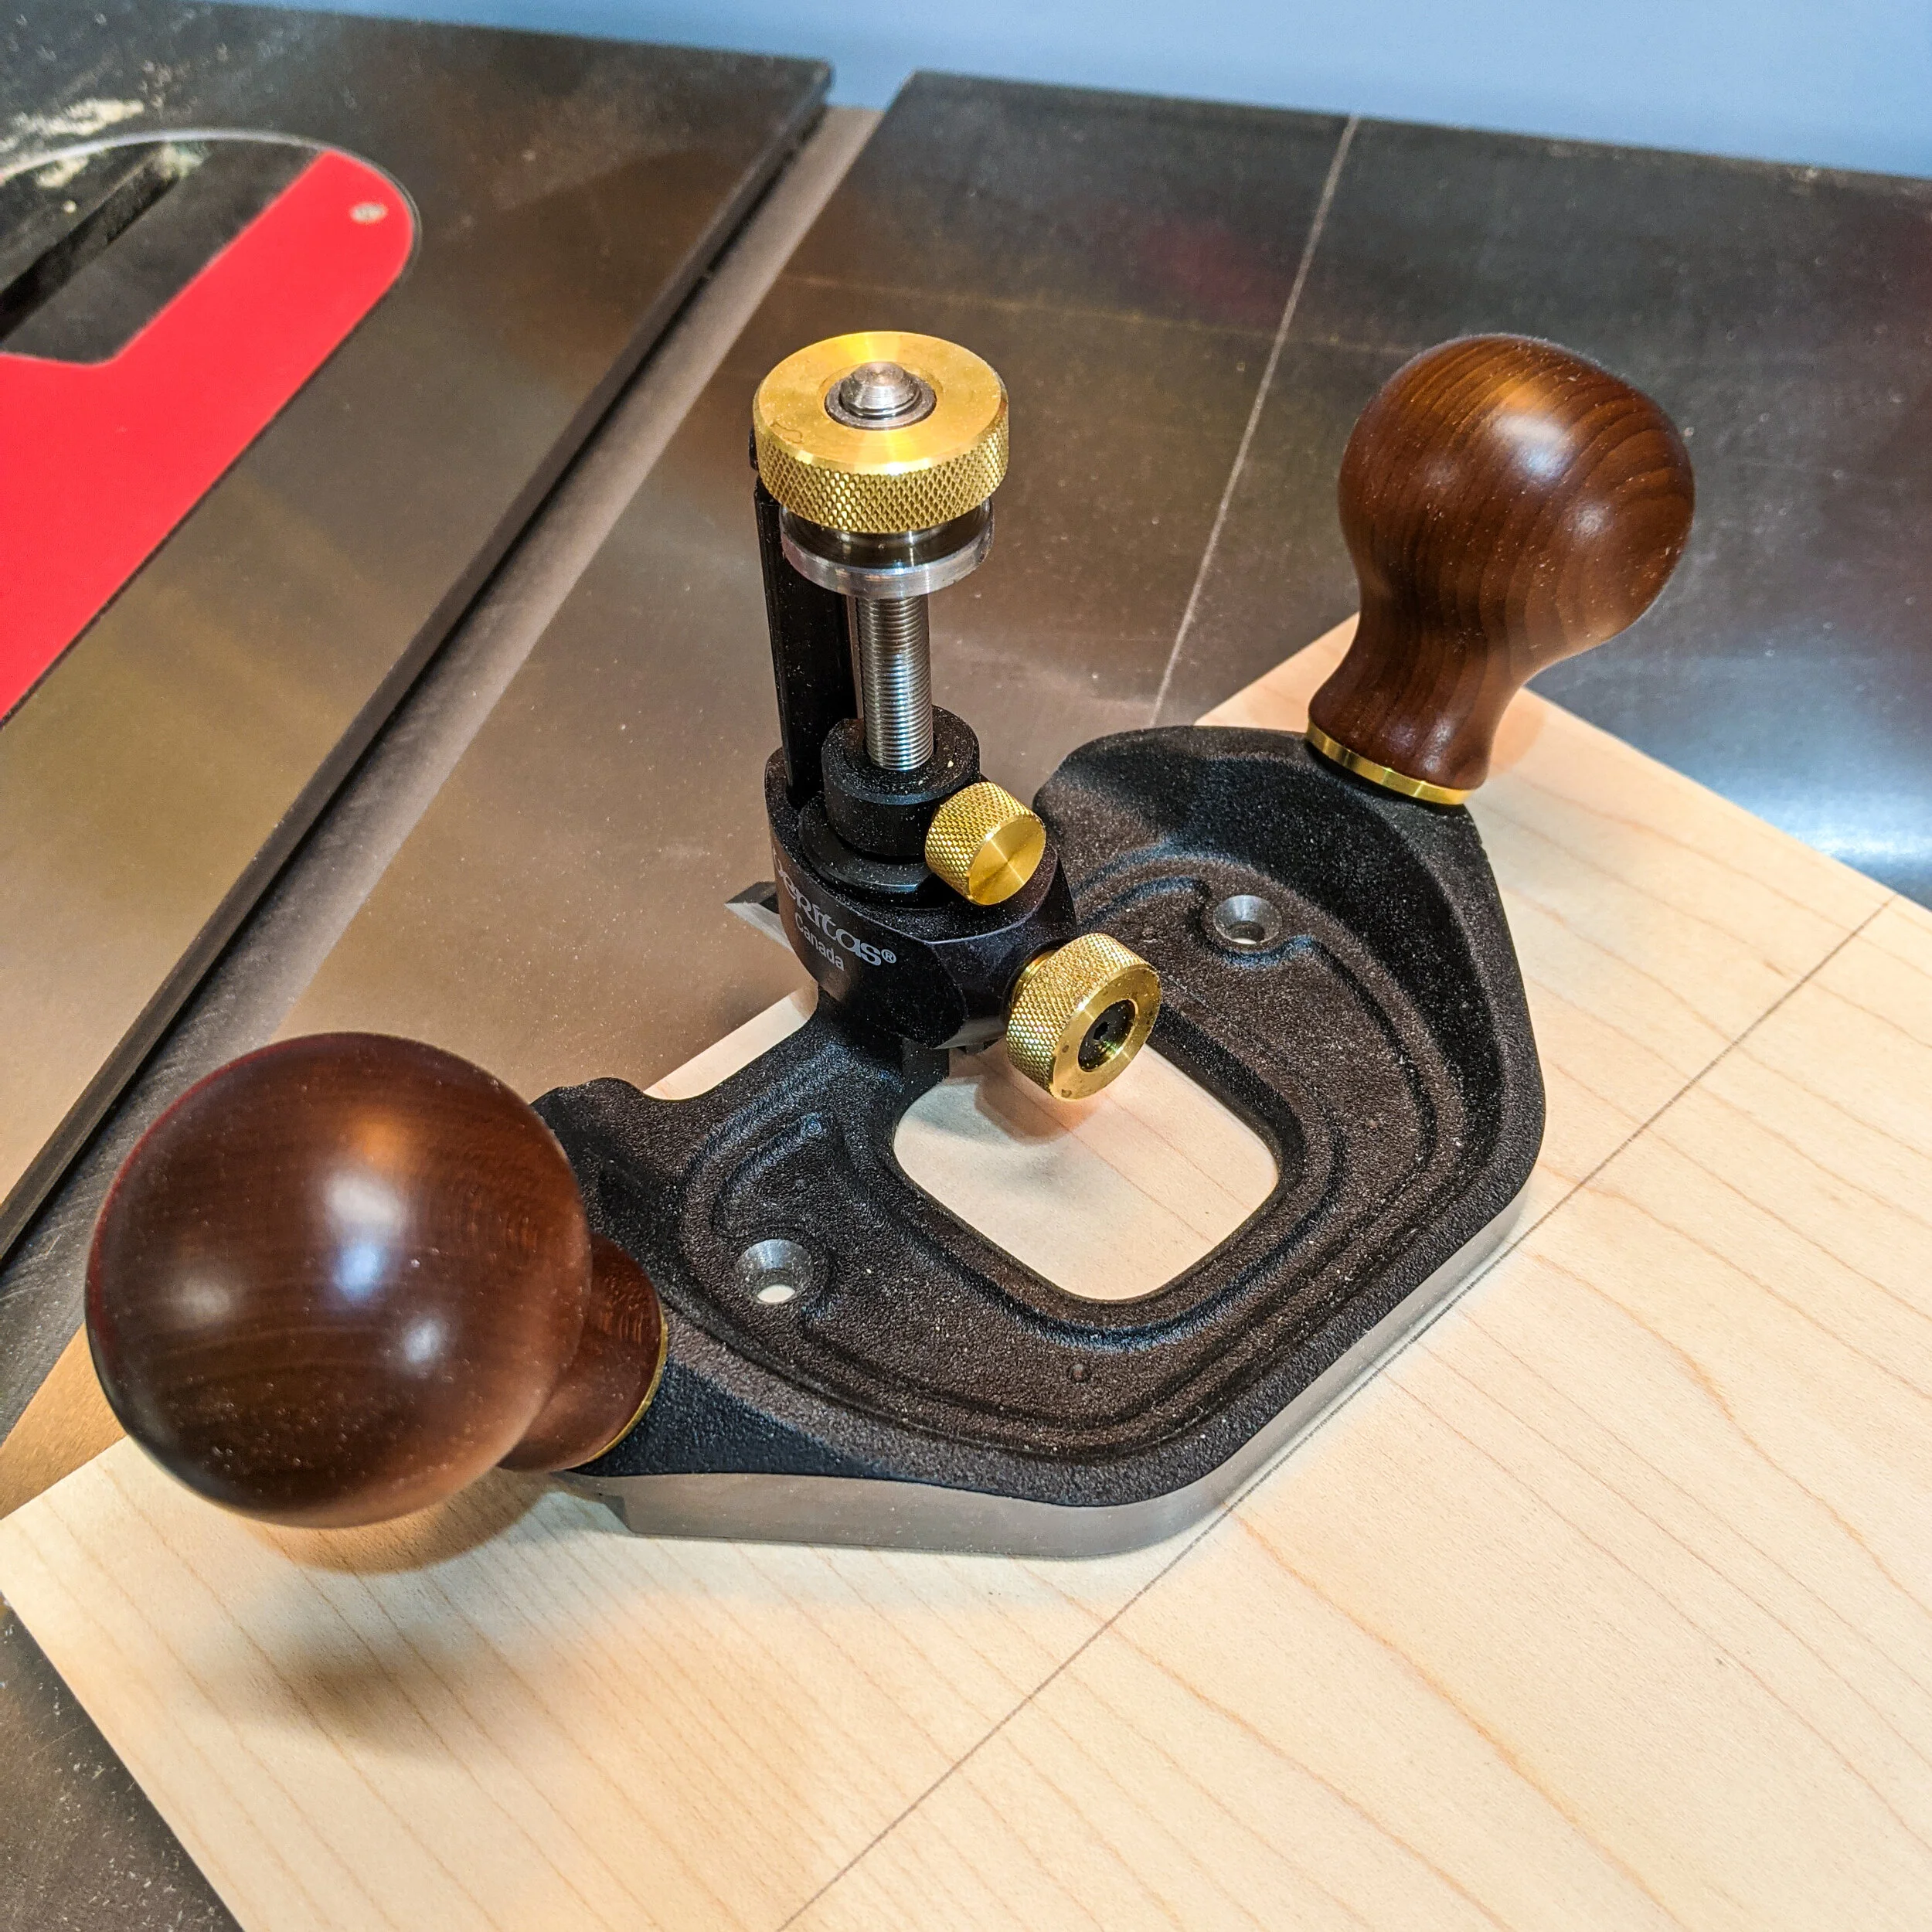
While working on the wide housing dados for my workbench, I ran into the issue where the base of my Veritas Router Plane was not wide enough and kept falling in. I tried a few different ways of working, but they all turned out to be inefficient. So I put that work on pause and made myself a larger sole. It took less than an hour from start to finish. Now the sugar maple sole lives permanently on the plane. Only time I’d have to take it off would be if I needed the extra 1/2” depth.

Working inefficiently is frustrating, demotivating and sometimes dangerous.
Measure and cut the lumber that you’ll be using for the sole. I choose hard sugar maple that should last a very long time. The width is a about 1/16” larger than the router on both sides. The length is totally of your choosing.

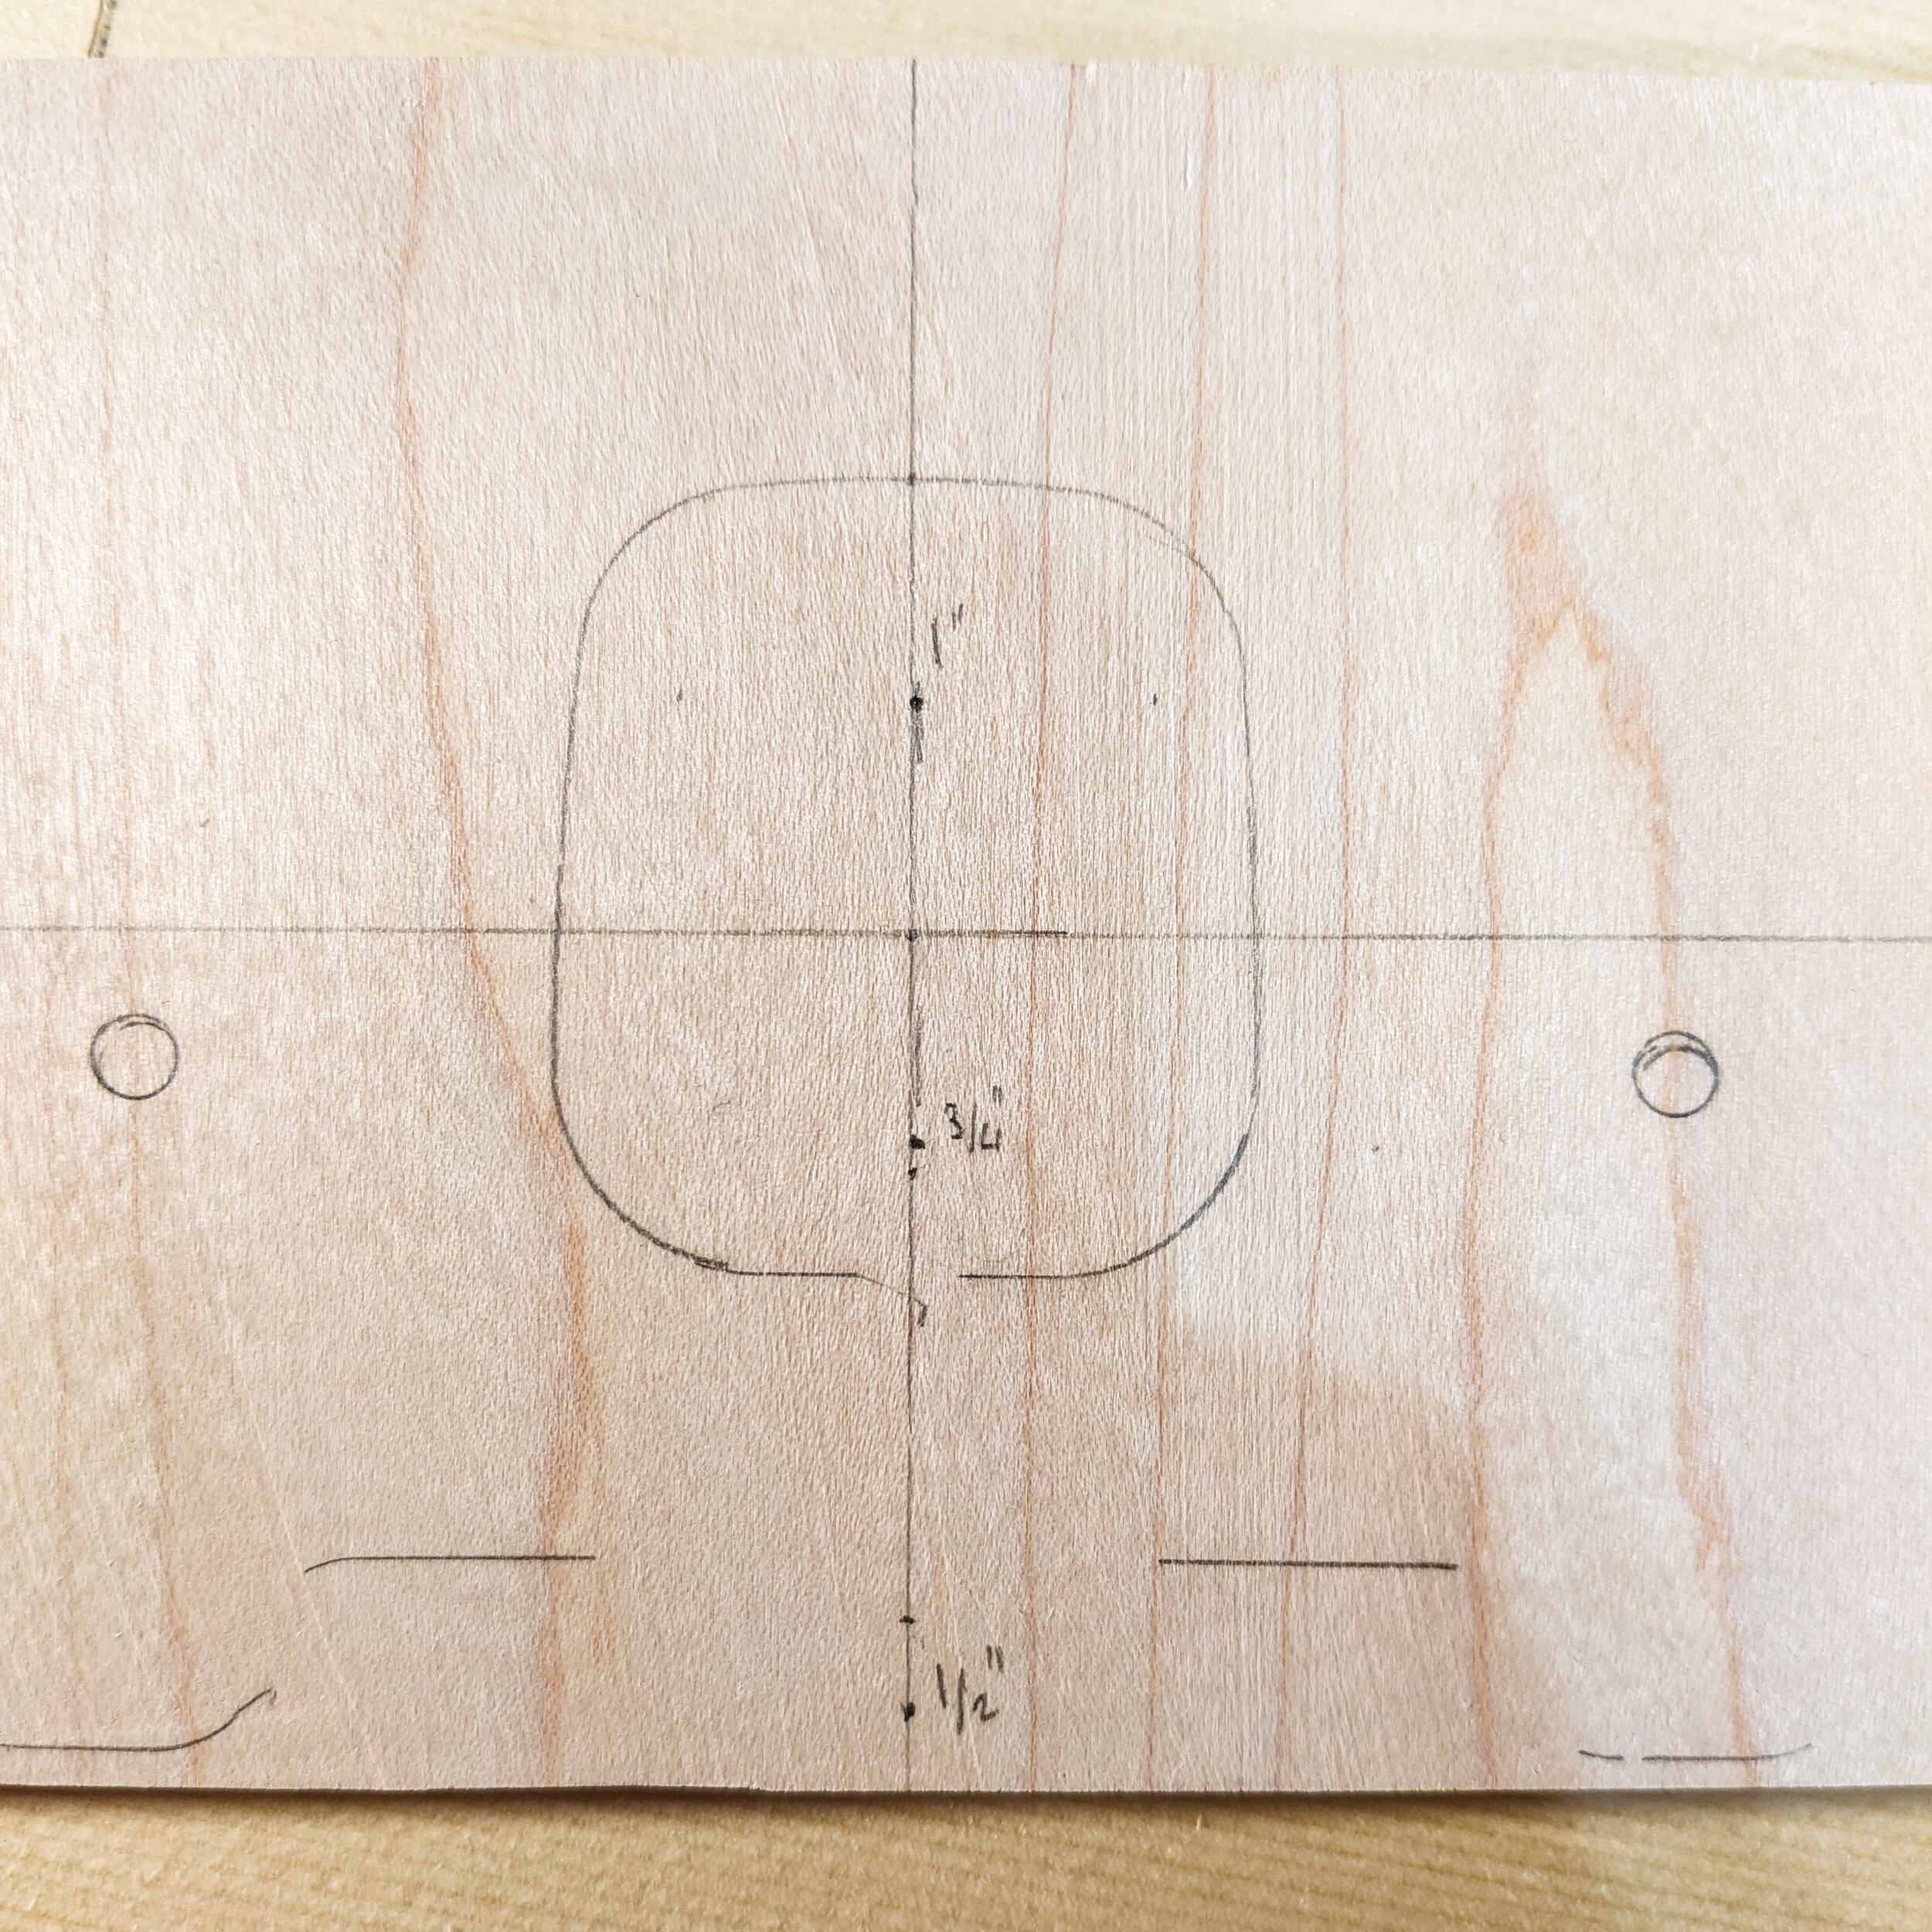
Trace the throat opening as well as the mounting holes and the back. I wanted to ensure that I could use the router in the bullnose position as well.
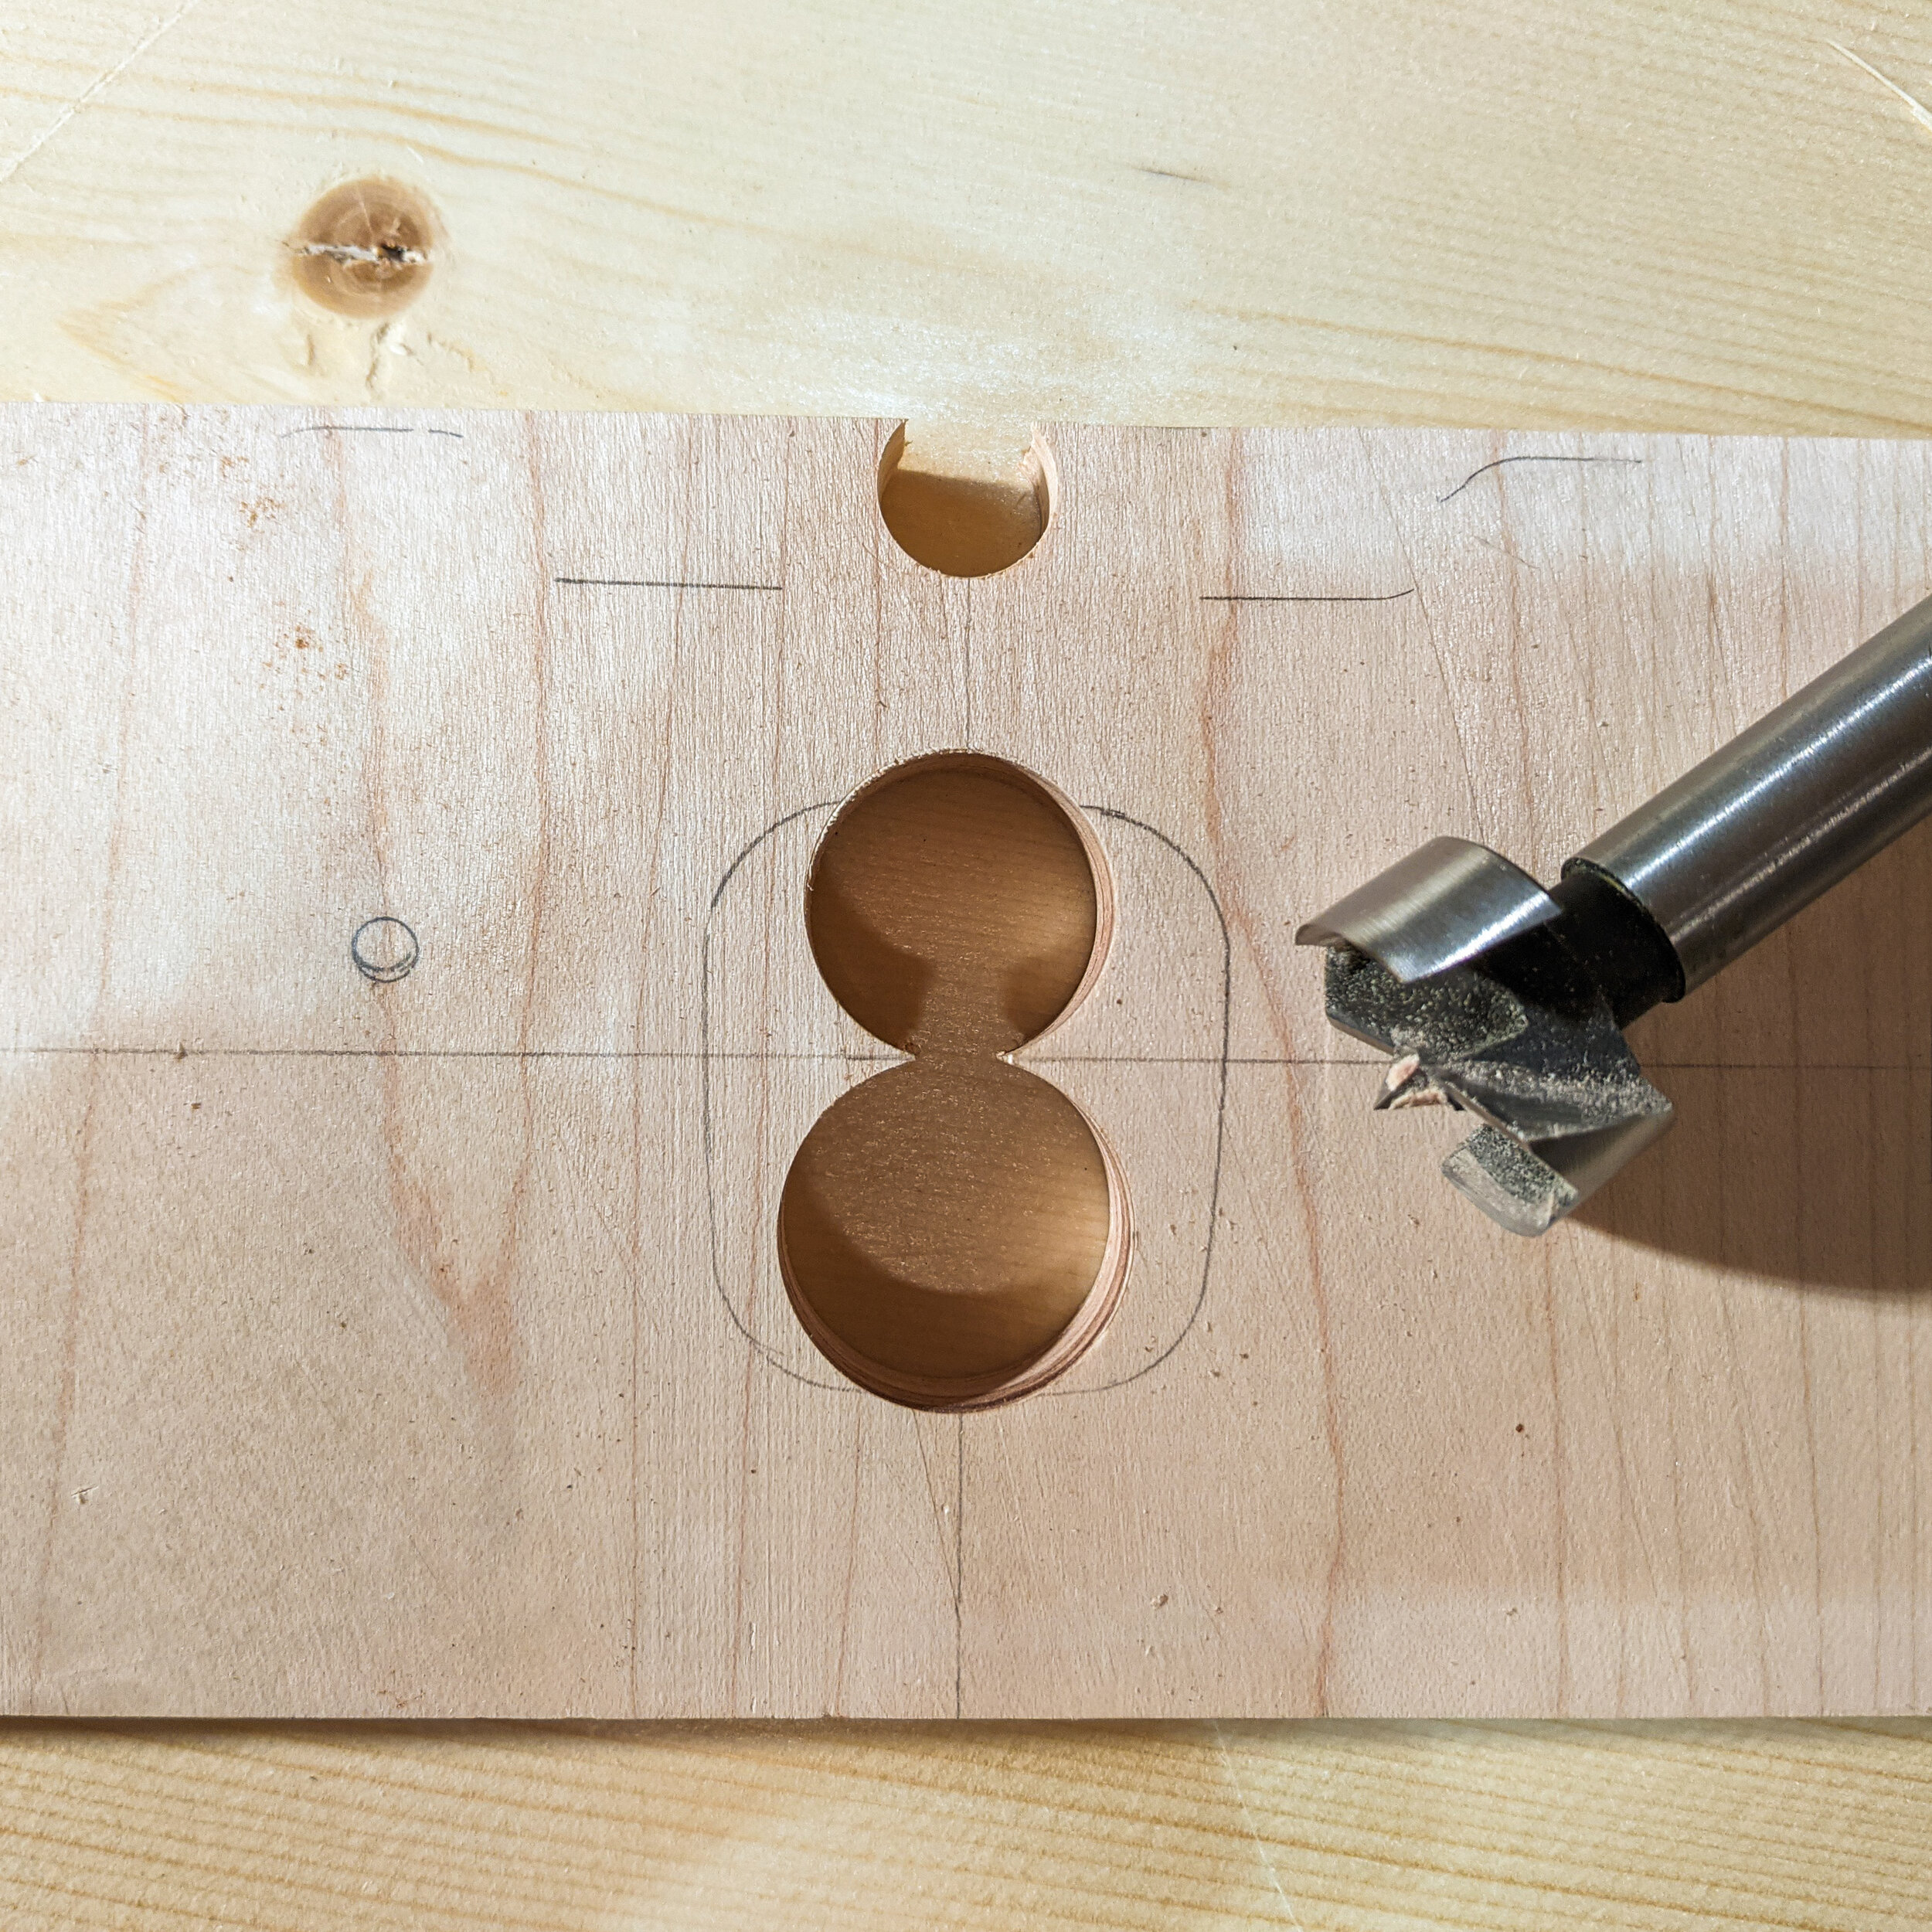
A 1” Forstner bit was the largest I had, so had to make multiple holes. To keep the opening small, I chose to drill with 3 different size bits. I eyeball the location of the holes. You could choose to do this with a larger bit as well.

Over to the drill press to remove the material.
I squared off the corners using a chisel.
Choose a screw of appropriate depth.

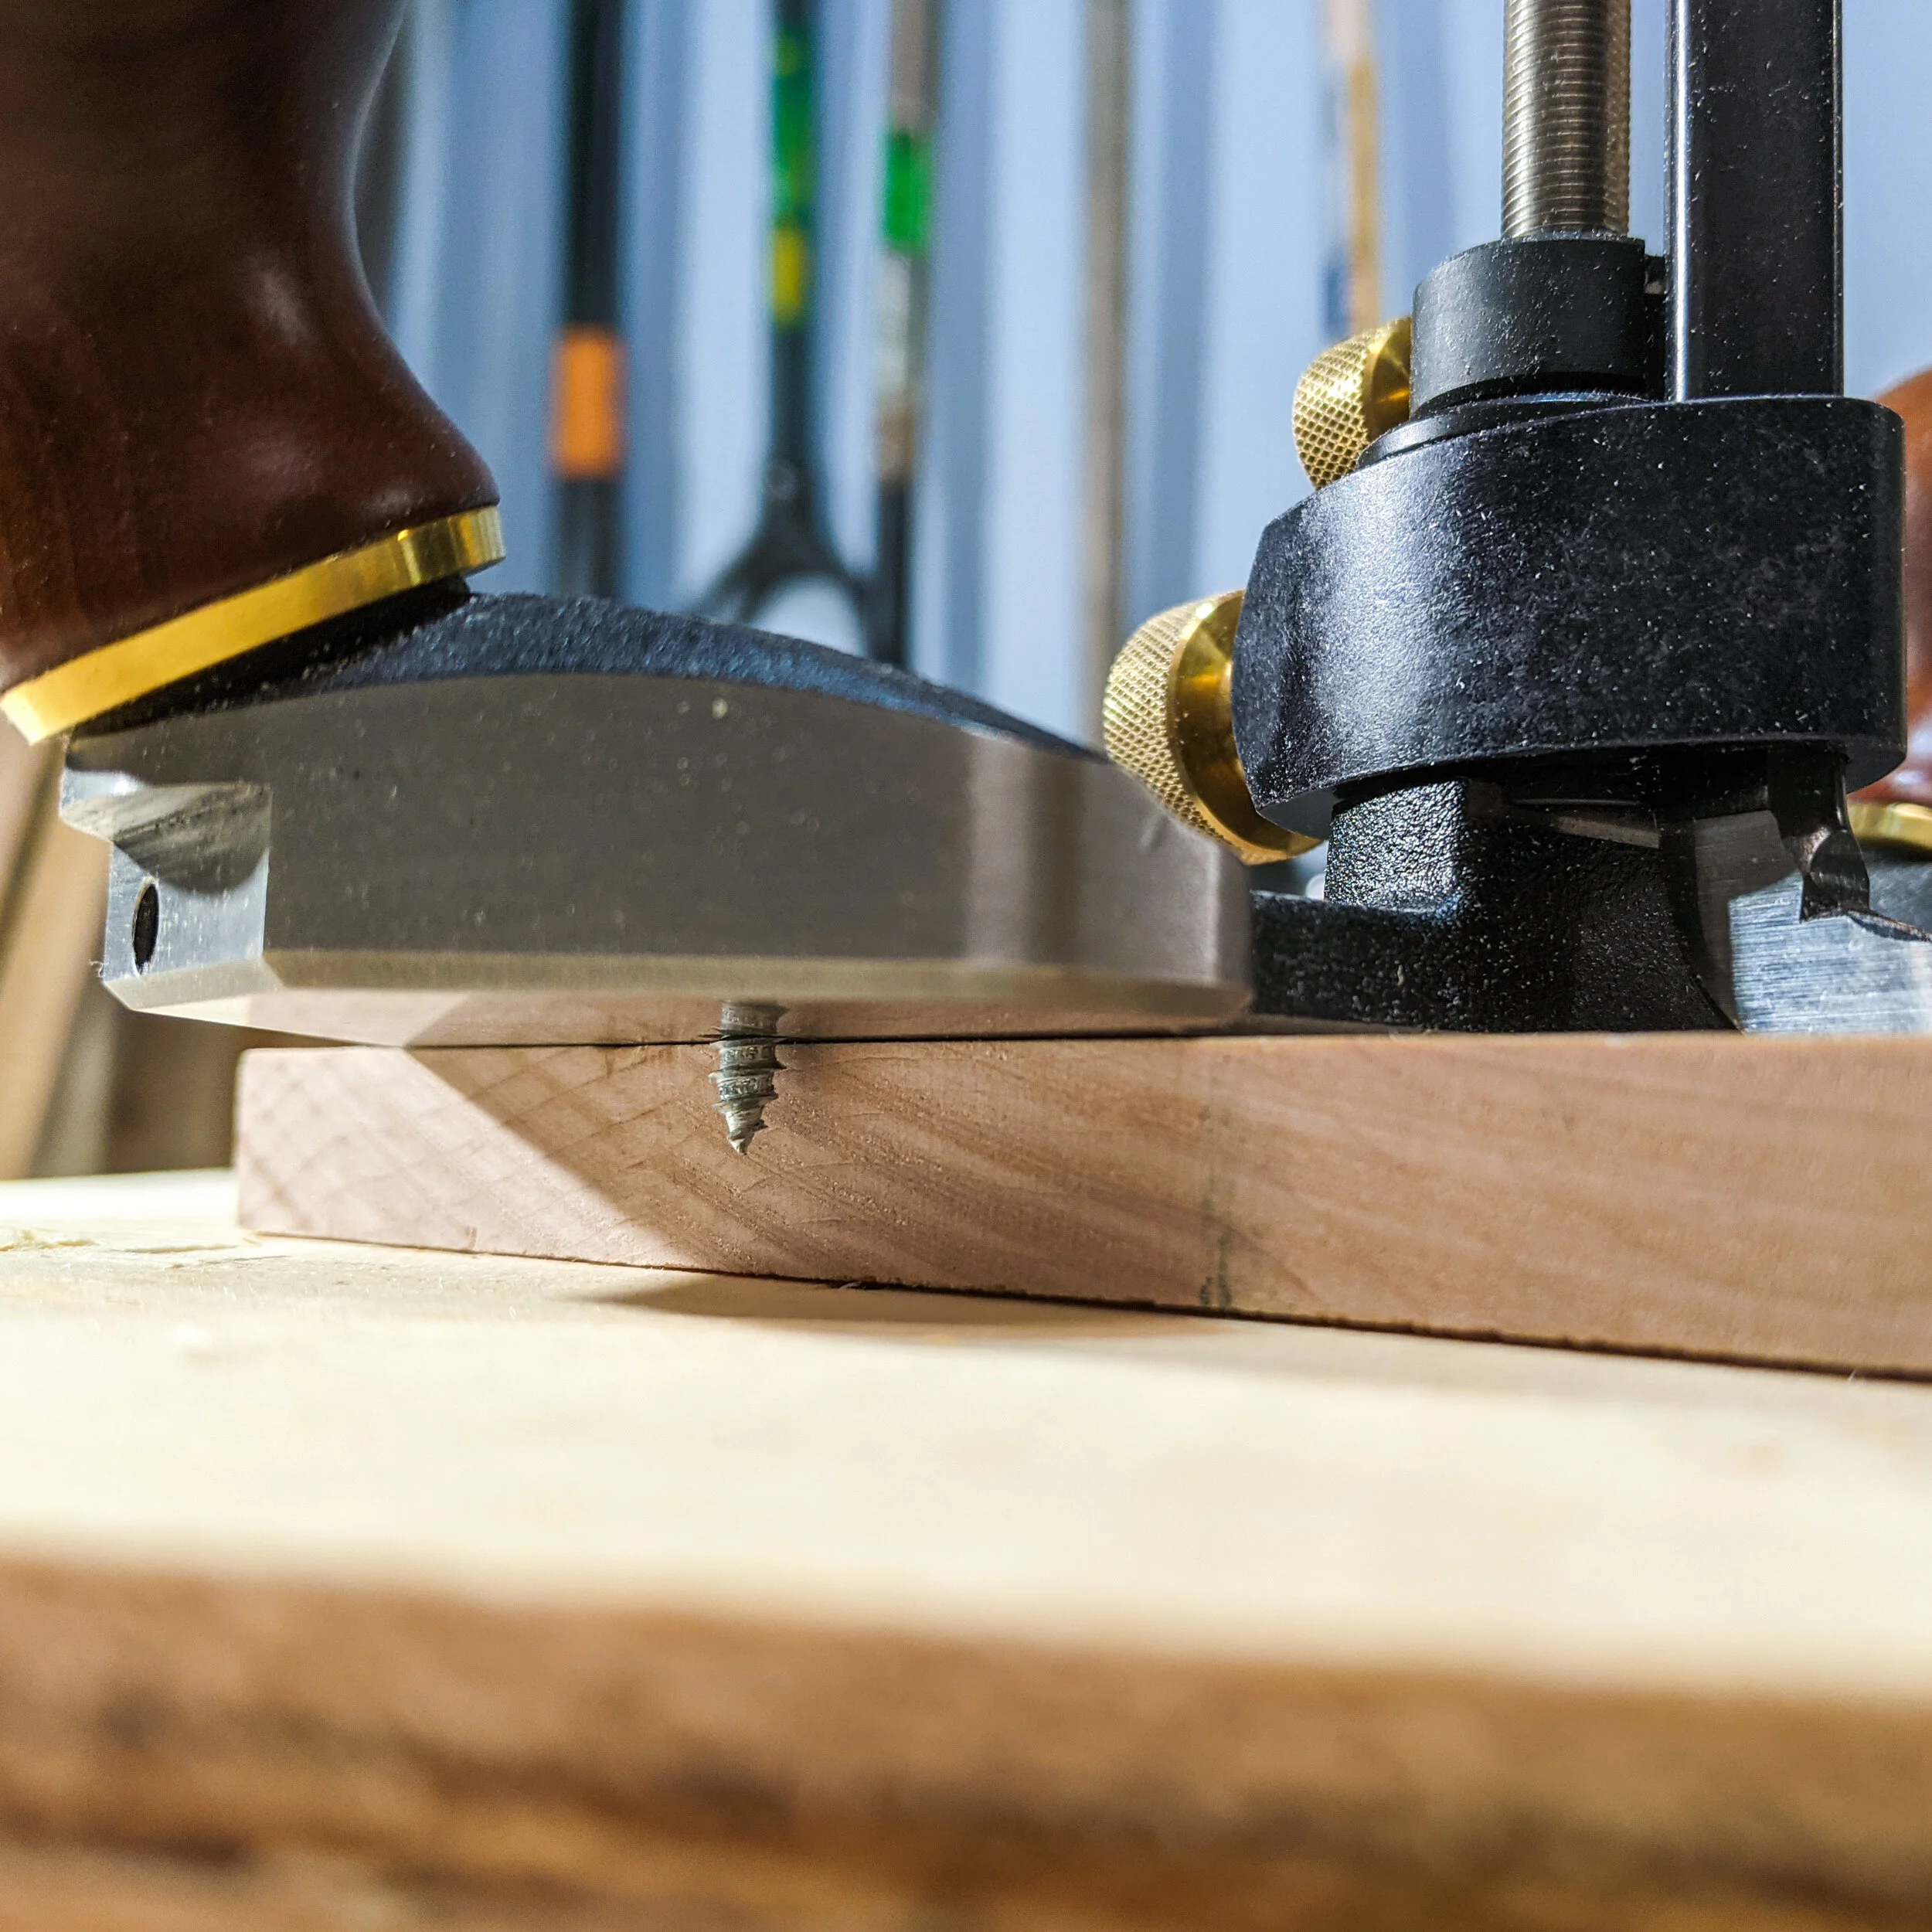
Drill pilot holes and install. I didn’t want the hard maple to split or the screw to break.
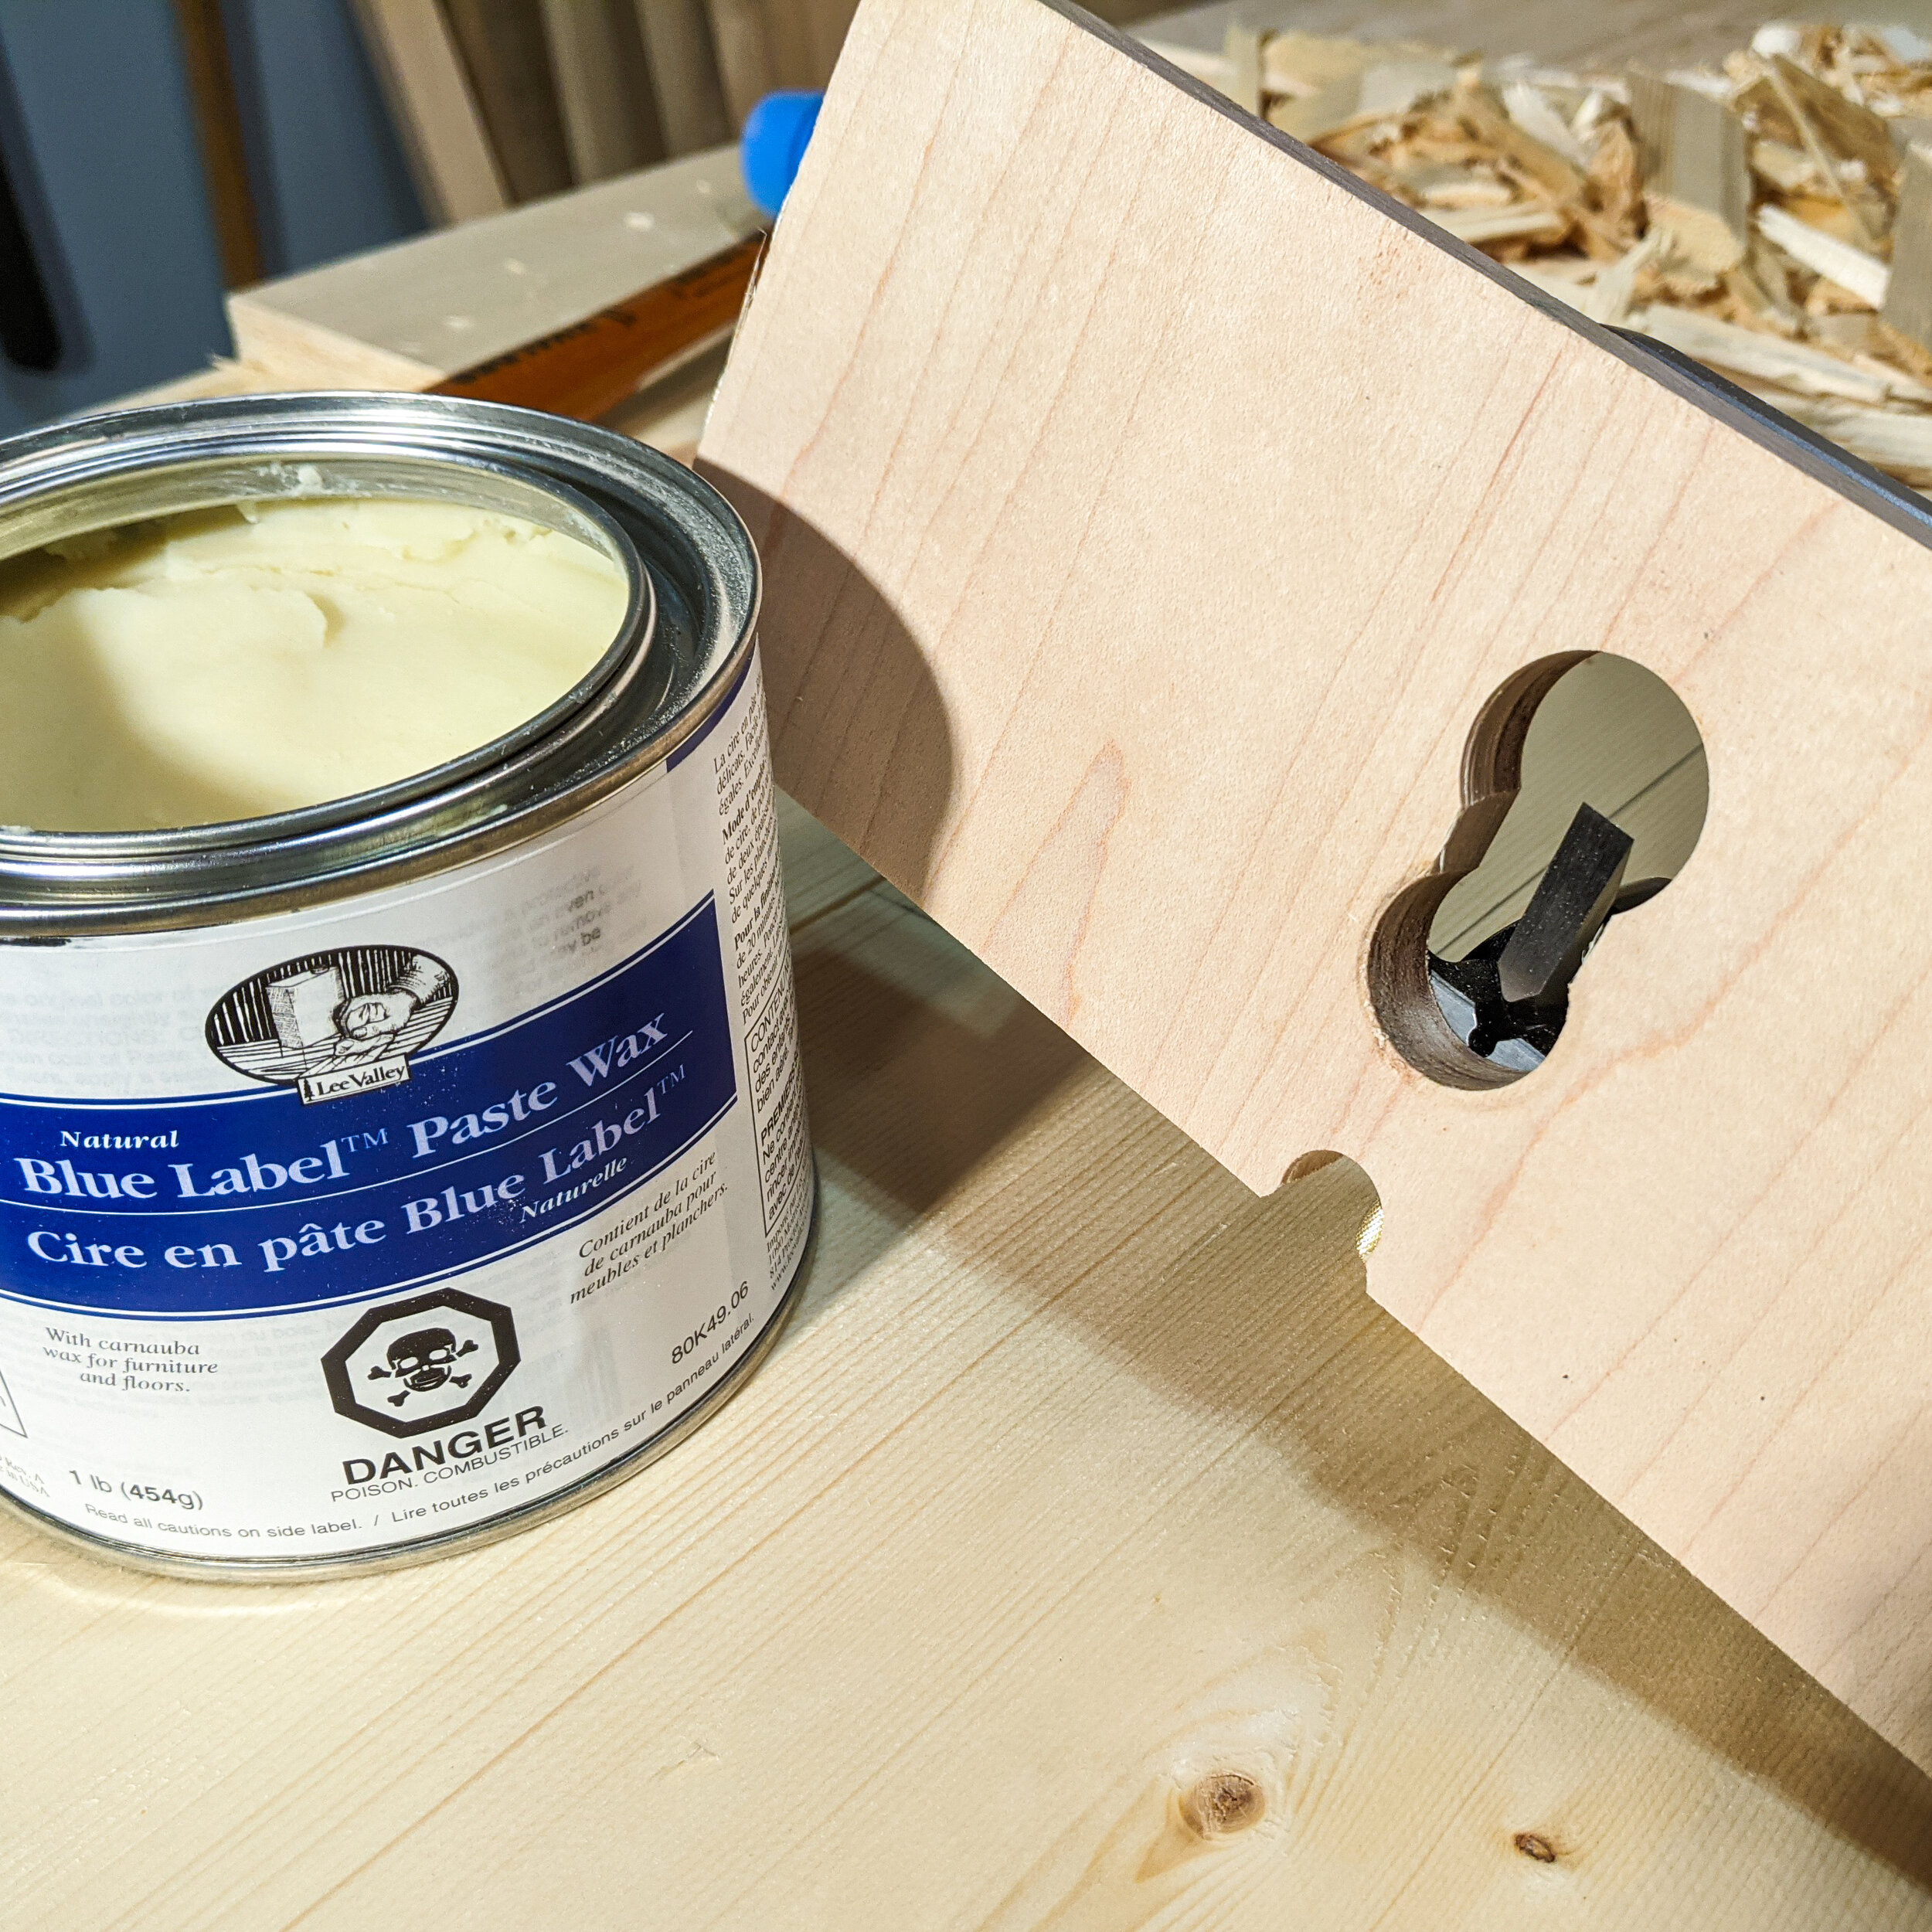
Polish with some paste wax for a silky smooth glide. I also chamfered all 4 sides of bottom of the sole. This prevented it from catching the sides of the dado.

The sole is permanently attached to my Veritas Router Plane. Unless I need the additional depth, I likely won’t ever take it off.